蝙蝠岛资源网 Design By www.hbtsch.com
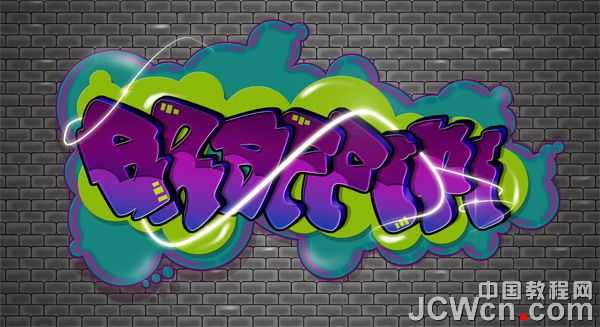
最终效果
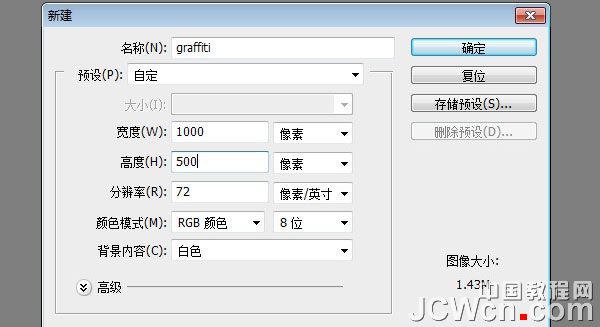
1、文件>新建,创建一个新的1000x500像素的文件。
2、选择背景层,使用油漆桶工具,填充颜色#D0CFCF。

3、现在我们用文本创建一个新层,可以去网上找些卡通类的字体,或自己设计一个去做,这里创建了一个,进入我的电脑和扫描的草图。 下一步,用你的钢笔工具,使一个字母。 我用的是“graffiti”一词,中文的意思就是涂鸦。

4、选择路径(右键单击进行选择)用颜色填充。

5、命名此层。 这一层起名为“G”。 复制这一层,产生一个G副本层。 双击此的“G副本”层,在弹出的图层样式对话框中,改变颜色。
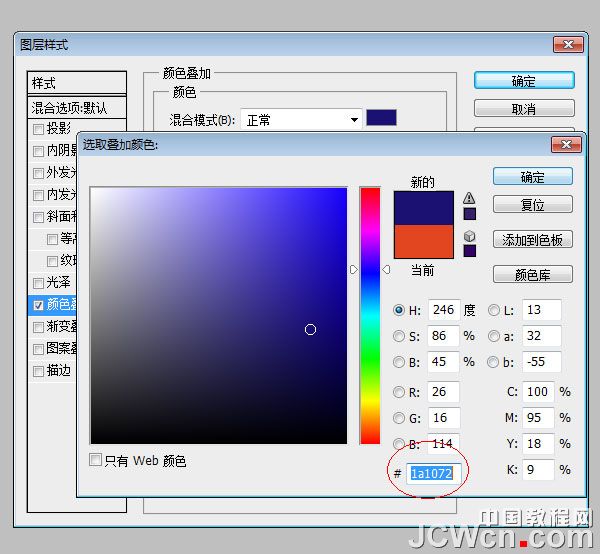
6、然后使用箭头键移动的“G副本”层向上5PX和移动8或9个像素。
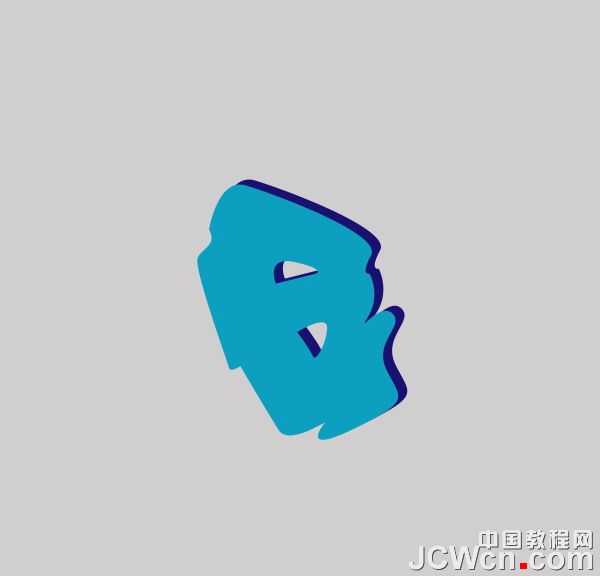
7、对原有的“G”层添加图层样式,制作一个内阴影。
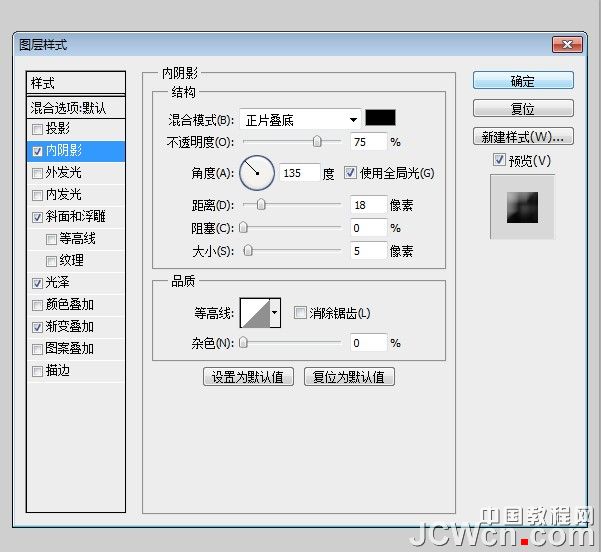
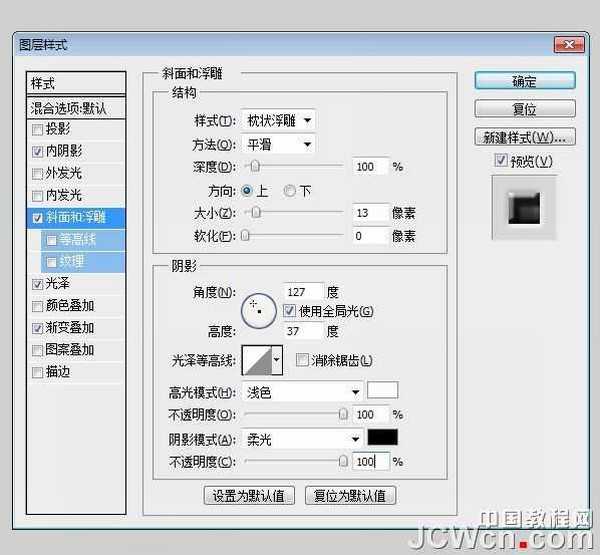
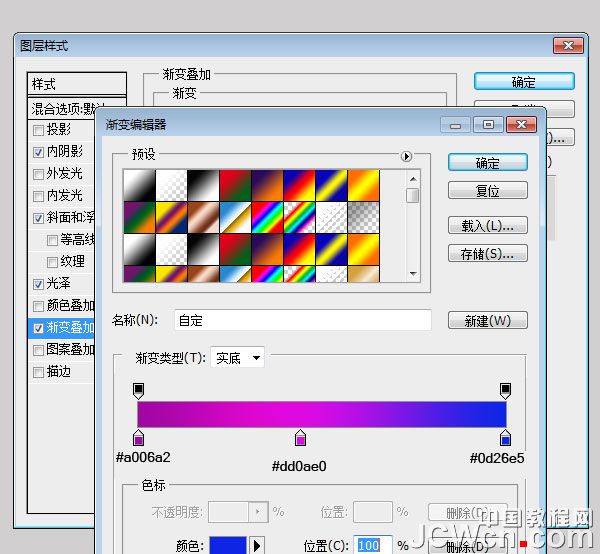
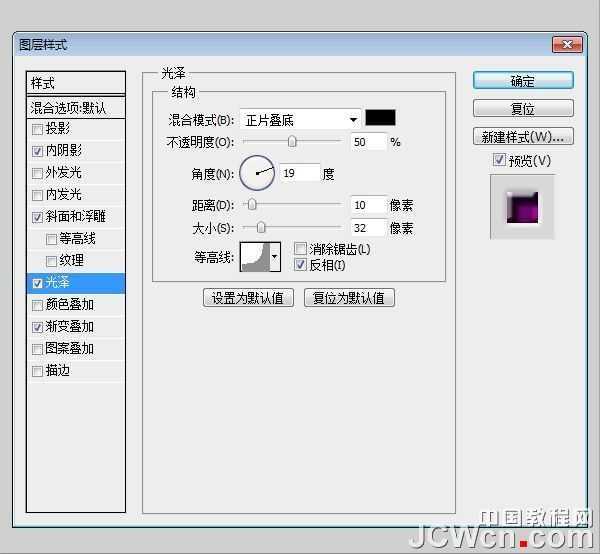
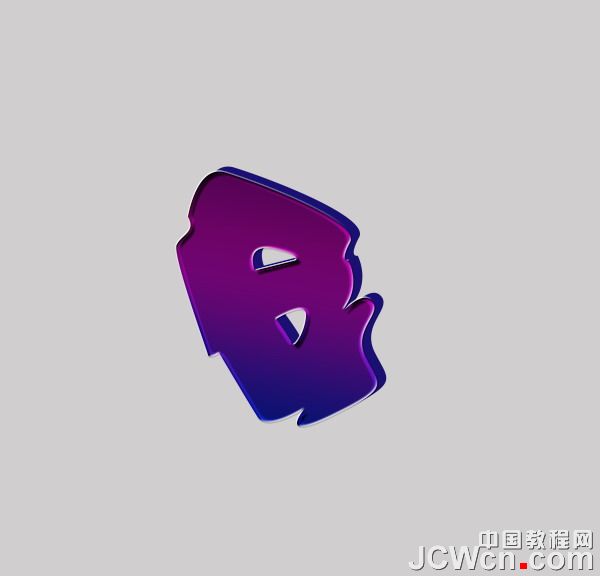
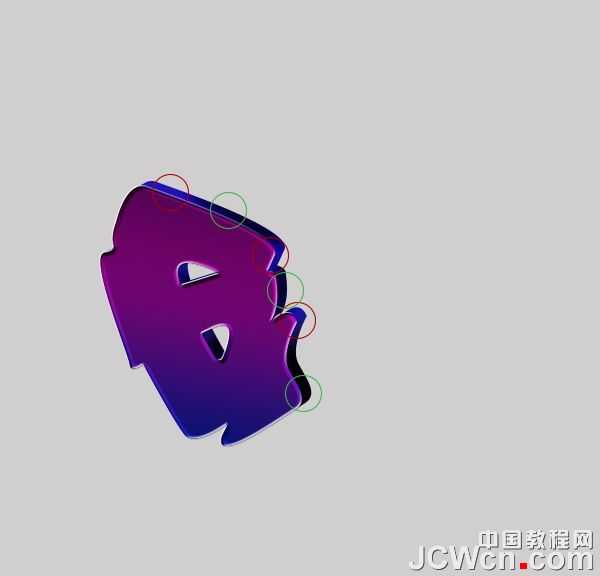
8、在图层面板选择“G副本”层,图层菜单>图层样式>创建图层。 选择图层使用加深工具或减淡工具,是图层中的G字部分地方变暗或减淡。 注:绿色圆圈用加深工具,红圈用减淡工具。
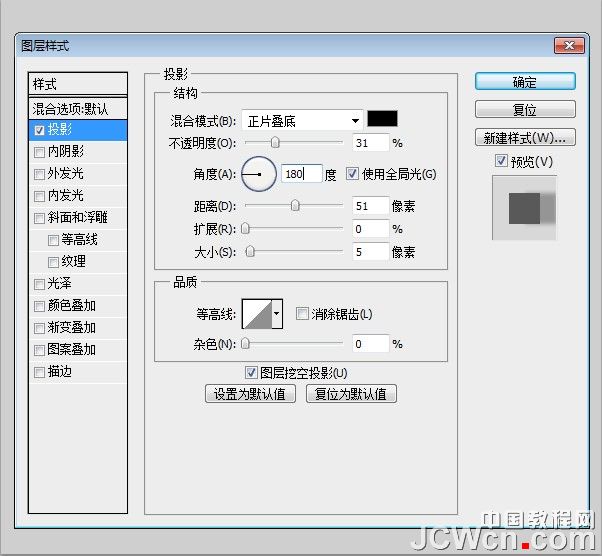
9、在“G副本”层中添加阴影。
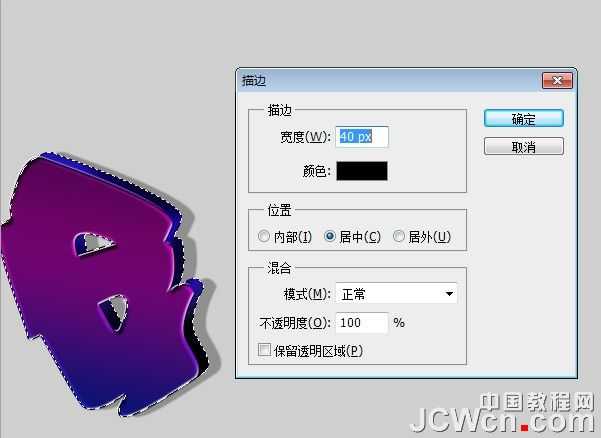
10、选择“G副本”层再次制作一个副本。 然后,在新图层中,编辑>描边。
11、创建一个新层,并重新命名为“窗口”,并用选择工具制作一个窗口,在窗口上填充颜色#8cb809。

12、现在我们将添加的亮的区域,创建一个新层,用钢笔工具创建的地方突出显示的区域。 用颜色#FFFFFF填充。
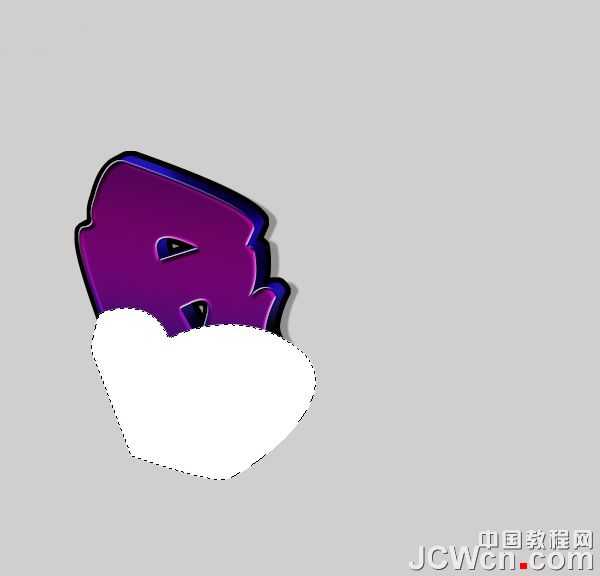
13、删除不必要领域。 按住原“G”和“G副本”图层(按住“CTRL + ALT键,选择框层的名字旁)选取框选择 选择>反选,然后删除,我们看我们刚才加亮的区域还在选择状态。
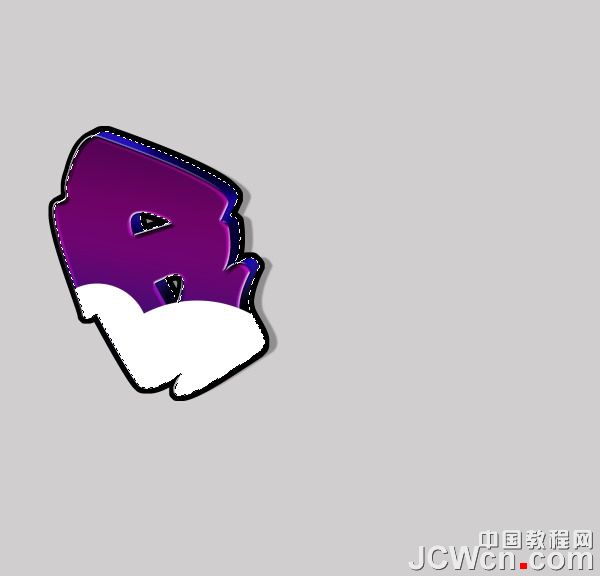
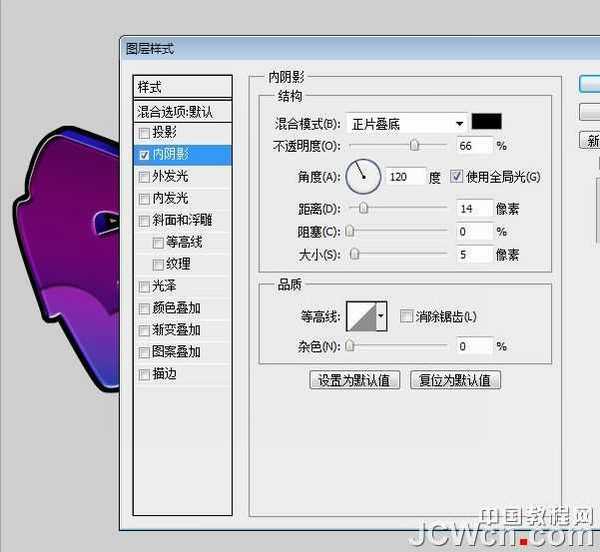
14、改变这层“柔光”,并添加图层样式(图层>图层样式>内阴影)。
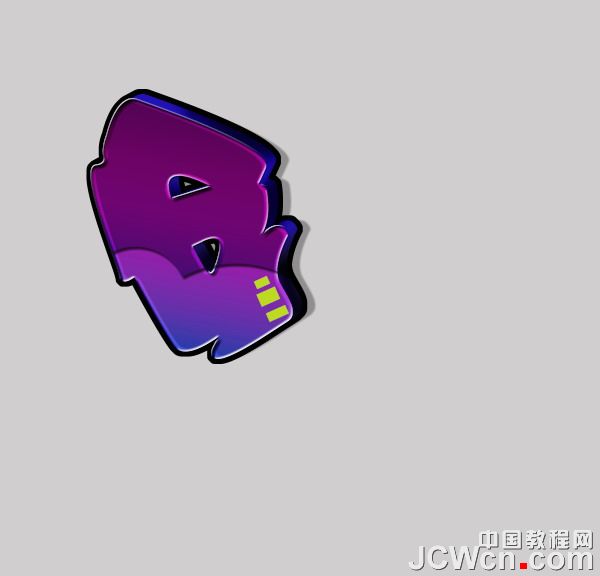
15、其余字母重复这些相同的步骤。
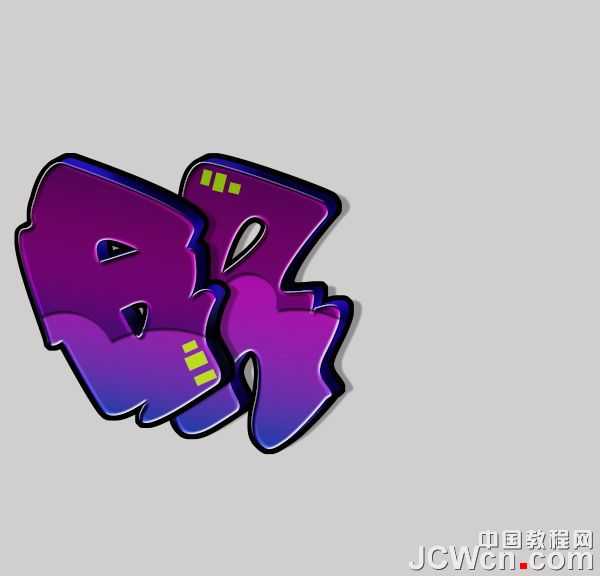
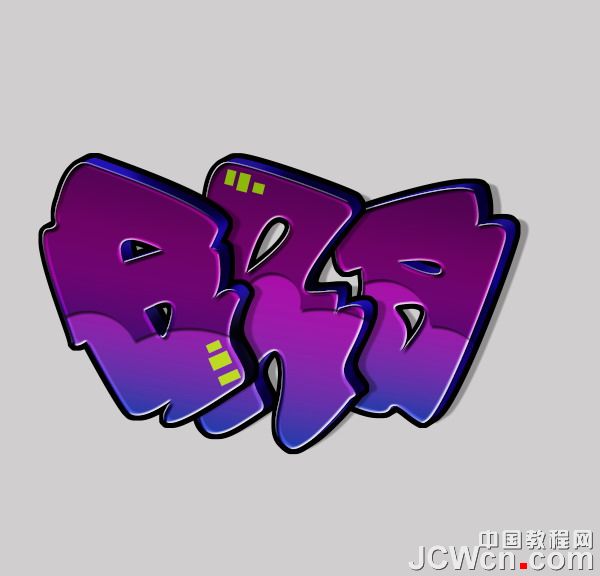
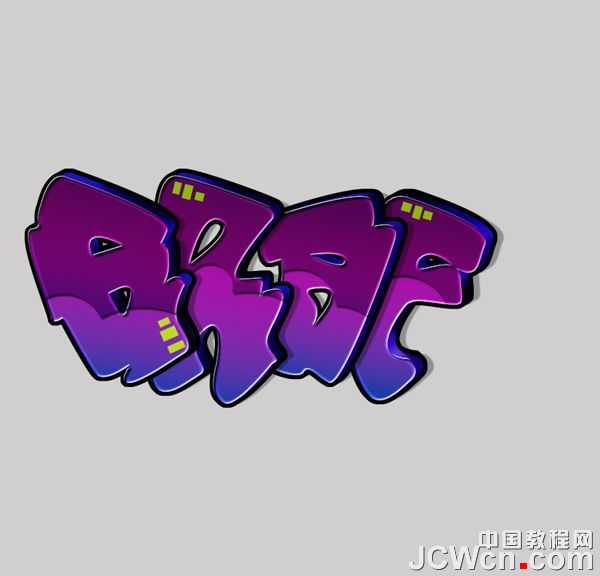
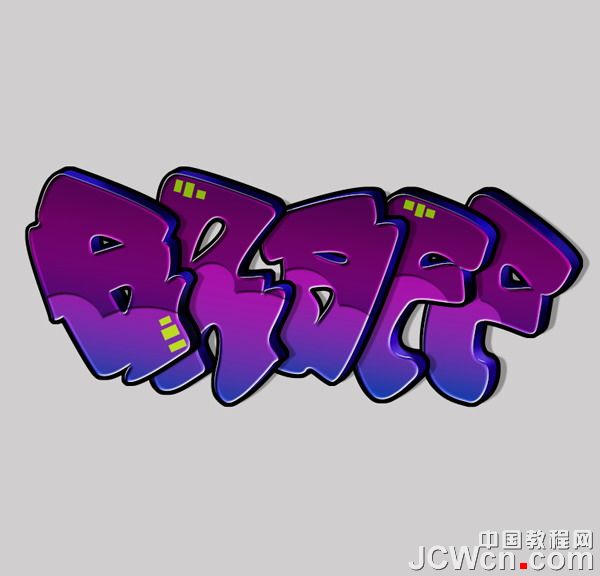
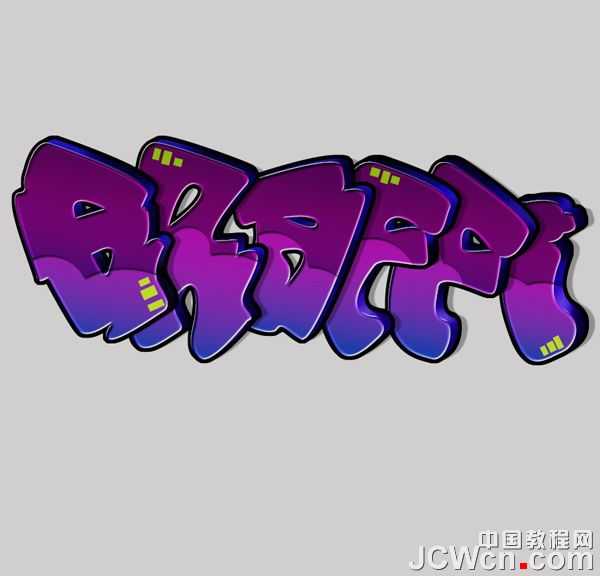
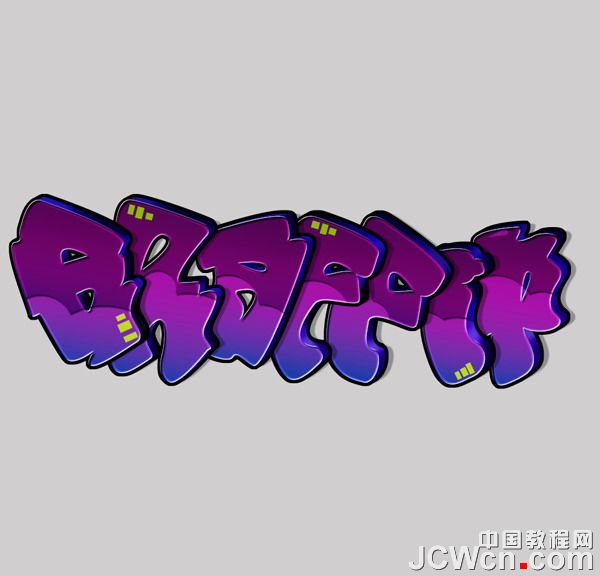
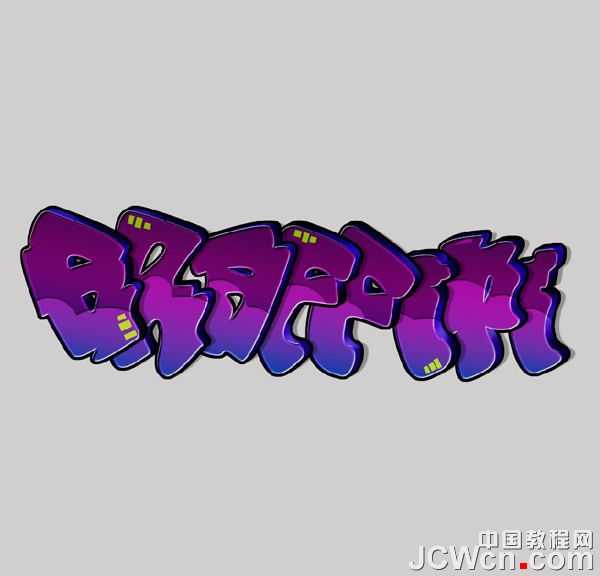
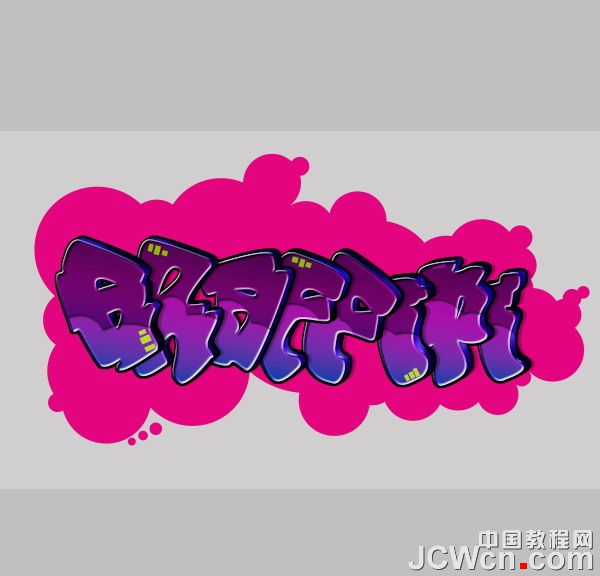
16、创建一个新层,其重命名为“云”。 放置我们刚才制作的图层下这一层。 拿起你的画笔工具,并使用不同大小的圆圈,以创建云。 我用颜色#e40480。 完成后复制这一层。
上一页12 下一页 阅读全文

1、文件>新建,创建一个新的1000x500像素的文件。

2、选择背景层,使用油漆桶工具,填充颜色#D0CFCF。

3、现在我们用文本创建一个新层,可以去网上找些卡通类的字体,或自己设计一个去做,这里创建了一个,进入我的电脑和扫描的草图。 下一步,用你的钢笔工具,使一个字母。 我用的是“graffiti”一词,中文的意思就是涂鸦。

4、选择路径(右键单击进行选择)用颜色填充。

5、命名此层。 这一层起名为“G”。 复制这一层,产生一个G副本层。 双击此的“G副本”层,在弹出的图层样式对话框中,改变颜色。

6、然后使用箭头键移动的“G副本”层向上5PX和移动8或9个像素。

7、对原有的“G”层添加图层样式,制作一个内阴影。


8、在图层面板选择“G副本”层,图层菜单>图层样式>创建图层。 选择图层使用加深工具或减淡工具,是图层中的G字部分地方变暗或减淡。 注:绿色圆圈用加深工具,红圈用减淡工具。


9、在“G副本”层中添加阴影。

10、选择“G副本”层再次制作一个副本。 然后,在新图层中,编辑>描边。

11、创建一个新层,并重新命名为“窗口”,并用选择工具制作一个窗口,在窗口上填充颜色#8cb809。

12、现在我们将添加的亮的区域,创建一个新层,用钢笔工具创建的地方突出显示的区域。 用颜色#FFFFFF填充。

13、删除不必要领域。 按住原“G”和“G副本”图层(按住“CTRL + ALT键,选择框层的名字旁)选取框选择 选择>反选,然后删除,我们看我们刚才加亮的区域还在选择状态。

14、改变这层“柔光”,并添加图层样式(图层>图层样式>内阴影)。

15、其余字母重复这些相同的步骤。


16、创建一个新层,其重命名为“云”。 放置我们刚才制作的图层下这一层。 拿起你的画笔工具,并使用不同大小的圆圈,以创建云。 我用颜色#e40480。 完成后复制这一层。

上一页12 下一页 阅读全文
标签:
涂鸦,立体字
蝙蝠岛资源网 Design By www.hbtsch.com
广告合作:本站广告合作请联系QQ:858582 申请时备注:广告合作(否则不回)
免责声明:本站文章均来自网站采集或用户投稿,网站不提供任何软件下载或自行开发的软件! 如有用户或公司发现本站内容信息存在侵权行为,请邮件告知! 858582#qq.com
免责声明:本站文章均来自网站采集或用户投稿,网站不提供任何软件下载或自行开发的软件! 如有用户或公司发现本站内容信息存在侵权行为,请邮件告知! 858582#qq.com
蝙蝠岛资源网 Design By www.hbtsch.com
暂无Photoshop设计制作非常个性的涂鸦立体字的评论...
稳了!魔兽国服回归的3条重磅消息!官宣时间再确认!
昨天有一位朋友在大神群里分享,自己亚服账号被封号之后居然弹出了国服的封号信息对话框。
这里面让他访问的是一个国服的战网网址,com.cn和后面的zh都非常明白地表明这就是国服战网。
而他在复制这个网址并且进行登录之后,确实是网易的网址,也就是我们熟悉的停服之后国服发布的暴雪游戏产品运营到期开放退款的说明。这是一件比较奇怪的事情,因为以前都没有出现这样的情况,现在突然提示跳转到国服战网的网址,是不是说明了简体中文客户端已经开始进行更新了呢?
更新日志
2026年01月27日
2026年01月27日
- 小骆驼-《草原狼2(蓝光CD)》[原抓WAV+CUE]
- 群星《欢迎来到我身边 电影原声专辑》[320K/MP3][105.02MB]
- 群星《欢迎来到我身边 电影原声专辑》[FLAC/分轨][480.9MB]
- 雷婷《梦里蓝天HQⅡ》 2023头版限量编号低速原抓[WAV+CUE][463M]
- 群星《2024好听新歌42》AI调整音效【WAV分轨】
- 王思雨-《思念陪着鸿雁飞》WAV
- 王思雨《喜马拉雅HQ》头版限量编号[WAV+CUE]
- 李健《无时无刻》[WAV+CUE][590M]
- 陈奕迅《酝酿》[WAV分轨][502M]
- 卓依婷《化蝶》2CD[WAV+CUE][1.1G]
- 群星《吉他王(黑胶CD)》[WAV+CUE]
- 齐秦《穿乐(穿越)》[WAV+CUE]
- 发烧珍品《数位CD音响测试-动向效果(九)》【WAV+CUE】
- 邝美云《邝美云精装歌集》[DSF][1.6G]
- 吕方《爱一回伤一回》[WAV+CUE][454M]
