蝙蝠岛资源网 Design By www.hbtsch.com
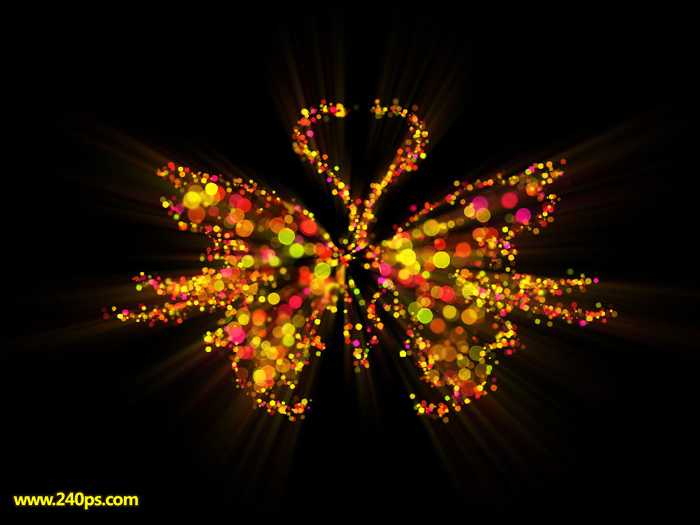
效果图制作比较简单,只需要用设置好的画笔描边路径就可以得到相应的光斑,画面的大小需要不断调整;然后把颜色调鲜艳,局部适当模糊处理即可。
最终效果
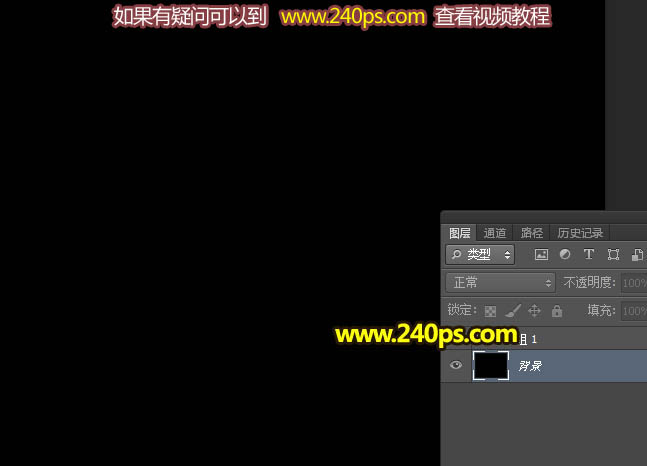
1、教程开始之前,我们先点这里下载素材,保存到本机后解压;打开PS软件后,再打开解压后的PSD文件,如下图,文件包含黑色背景,和一个组。
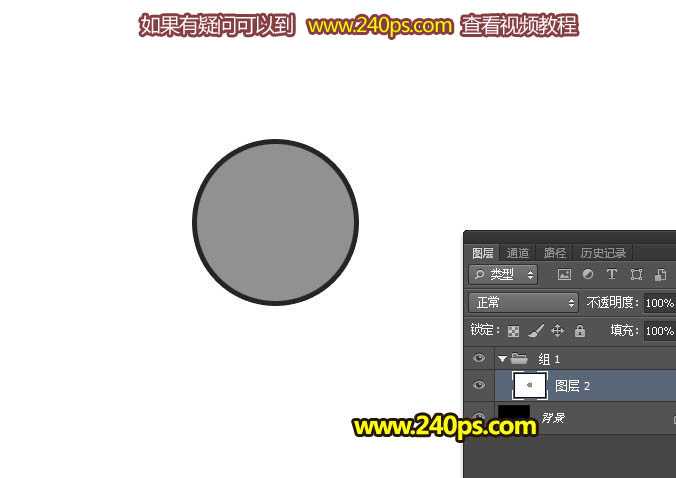
2、把组显示出来,展开后,我们看到有一个圆,这是我们要用到的画笔。
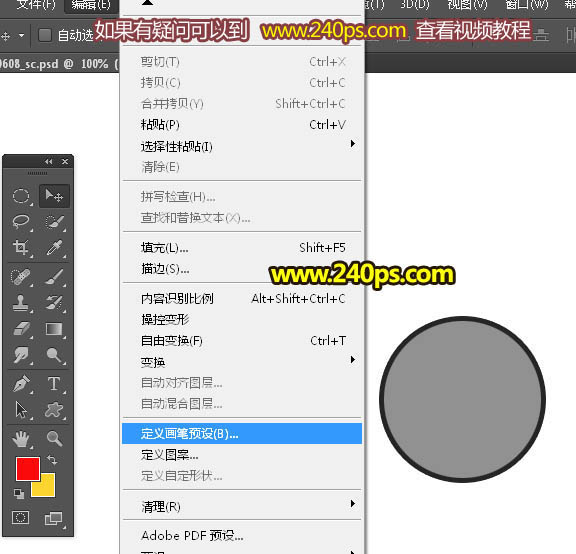
3、选择菜单:编辑 > 定义画笔预设,如下图。
4、在弹出的对话框自己命名。

5、把组隐藏,然后选择背景图层,如下图。
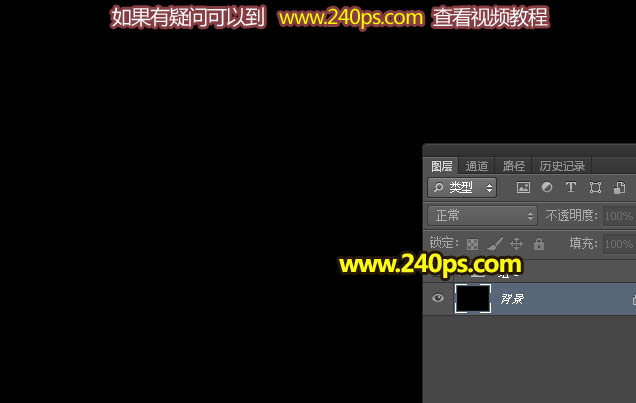
6、新建一个空白图层,如下图。
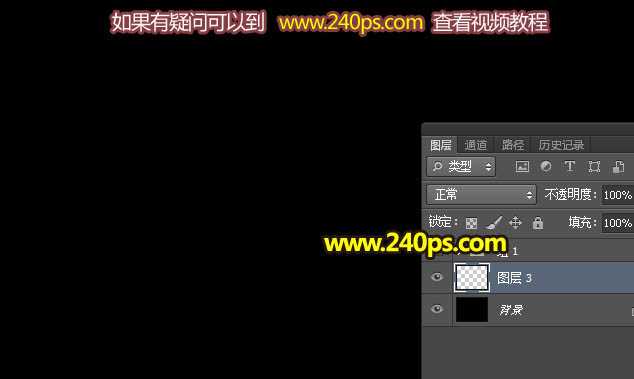
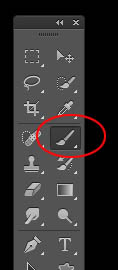
7、在工具箱选择画笔工具,如下图。
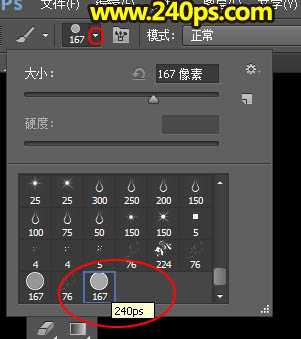
8、在属性栏点画笔预设后面的三角形,然后选择刚才定义的画笔,如下图。
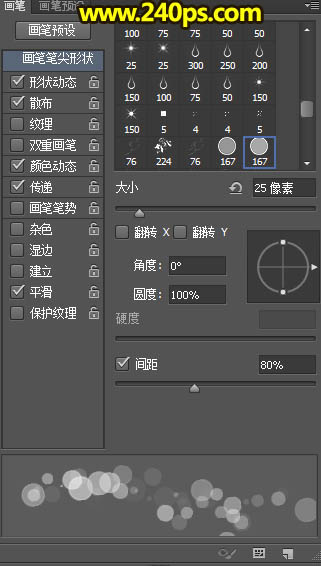
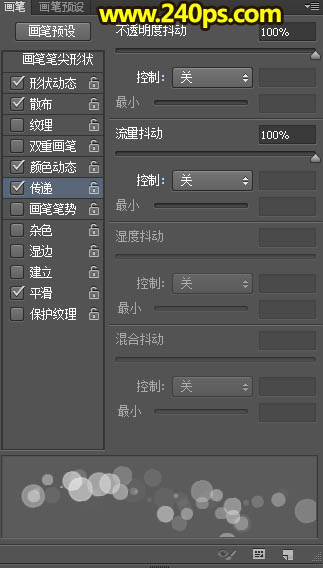
9、按F5调出画笔预设面板,然后设置。 画笔笔尖形状:大小设置为25像素,间距设置为80%,其它设置如下图。
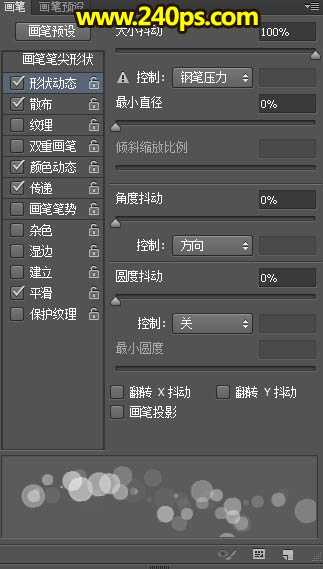
形状动态:
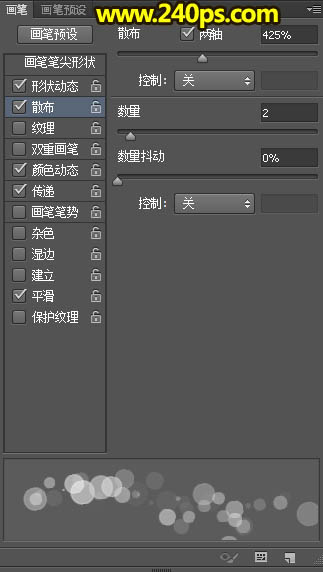
散布:
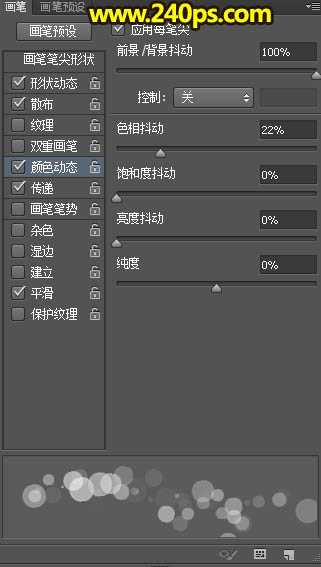
颜色动态:
传递:其它版本也叫其它动态,设置好后勾选“平滑”选项,如下图。
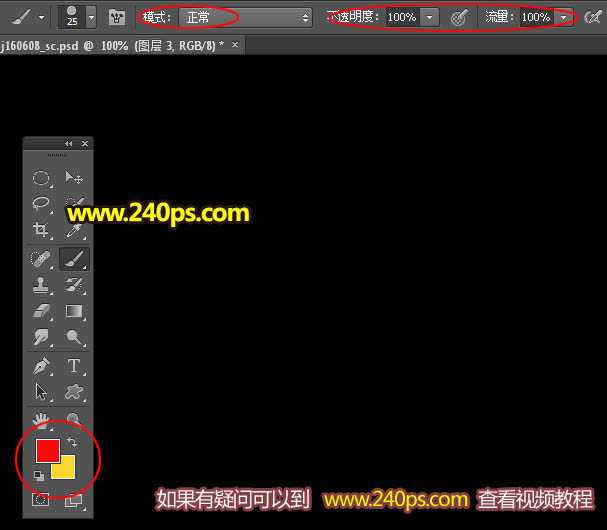
10、在属性栏把模式设置为“正常”,不透明度及流量都设置为100%;再把前景色设置为红色:#FB080A,背景色设置为黄色:#FCD626,如下图。
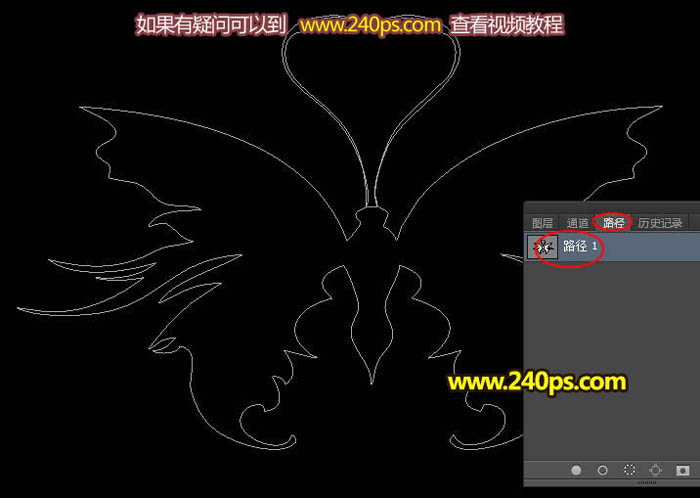
11、进入路径面板,点一下路径1调出蝴蝶路径,如下图。
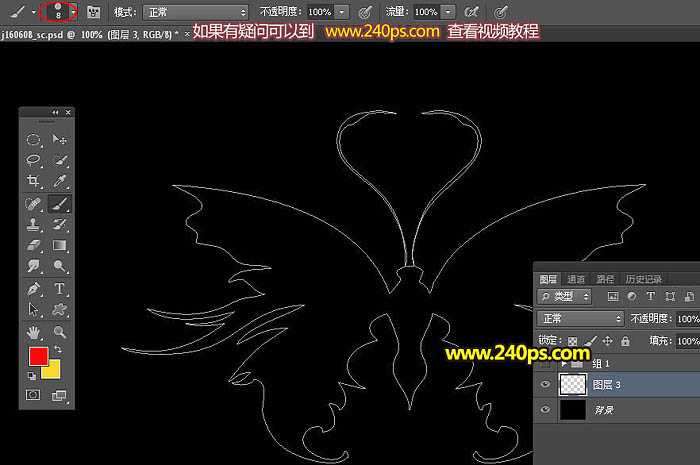
12、回到图层面板,按“[”把画笔缩小到8像素,如下图。
13、选择钢笔工具,如下图。

14、在路径上右键,然后选择“描边路径”。
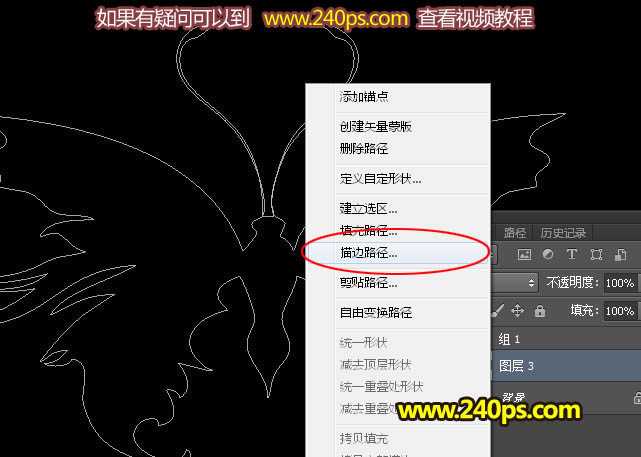
15、在弹出的对话框选择“画笔”,如下图。

上一页12 下一页 阅读全文
最终效果

1、教程开始之前,我们先点这里下载素材,保存到本机后解压;打开PS软件后,再打开解压后的PSD文件,如下图,文件包含黑色背景,和一个组。

2、把组显示出来,展开后,我们看到有一个圆,这是我们要用到的画笔。

3、选择菜单:编辑 > 定义画笔预设,如下图。

4、在弹出的对话框自己命名。

5、把组隐藏,然后选择背景图层,如下图。

6、新建一个空白图层,如下图。

7、在工具箱选择画笔工具,如下图。

8、在属性栏点画笔预设后面的三角形,然后选择刚才定义的画笔,如下图。

9、按F5调出画笔预设面板,然后设置。 画笔笔尖形状:大小设置为25像素,间距设置为80%,其它设置如下图。

形状动态:

散布:

颜色动态:

传递:其它版本也叫其它动态,设置好后勾选“平滑”选项,如下图。

10、在属性栏把模式设置为“正常”,不透明度及流量都设置为100%;再把前景色设置为红色:#FB080A,背景色设置为黄色:#FCD626,如下图。

11、进入路径面板,点一下路径1调出蝴蝶路径,如下图。

12、回到图层面板,按“[”把画笔缩小到8像素,如下图。

13、选择钢笔工具,如下图。

14、在路径上右键,然后选择“描边路径”。

15、在弹出的对话框选择“画笔”,如下图。

上一页12 下一页 阅读全文
标签:
光斑,蝴蝶
蝙蝠岛资源网 Design By www.hbtsch.com
广告合作:本站广告合作请联系QQ:858582 申请时备注:广告合作(否则不回)
免责声明:本站文章均来自网站采集或用户投稿,网站不提供任何软件下载或自行开发的软件! 如有用户或公司发现本站内容信息存在侵权行为,请邮件告知! 858582#qq.com
免责声明:本站文章均来自网站采集或用户投稿,网站不提供任何软件下载或自行开发的软件! 如有用户或公司发现本站内容信息存在侵权行为,请邮件告知! 858582#qq.com
蝙蝠岛资源网 Design By www.hbtsch.com
暂无Photoshop设计制作绚丽的彩色光斑蝴蝶的评论...
更新日志
2026年01月28日
2026年01月28日
- 小骆驼-《草原狼2(蓝光CD)》[原抓WAV+CUE]
- 群星《欢迎来到我身边 电影原声专辑》[320K/MP3][105.02MB]
- 群星《欢迎来到我身边 电影原声专辑》[FLAC/分轨][480.9MB]
- 雷婷《梦里蓝天HQⅡ》 2023头版限量编号低速原抓[WAV+CUE][463M]
- 群星《2024好听新歌42》AI调整音效【WAV分轨】
- 王思雨-《思念陪着鸿雁飞》WAV
- 王思雨《喜马拉雅HQ》头版限量编号[WAV+CUE]
- 李健《无时无刻》[WAV+CUE][590M]
- 陈奕迅《酝酿》[WAV分轨][502M]
- 卓依婷《化蝶》2CD[WAV+CUE][1.1G]
- 群星《吉他王(黑胶CD)》[WAV+CUE]
- 齐秦《穿乐(穿越)》[WAV+CUE]
- 发烧珍品《数位CD音响测试-动向效果(九)》【WAV+CUE】
- 邝美云《邝美云精装歌集》[DSF][1.6G]
- 吕方《爱一回伤一回》[WAV+CUE][454M]
