蝙蝠岛资源网 Design By www.hbtsch.com
作者设计的效果非常细腻也非常绚丽。用到的素材不多,不过作者善于应用画笔,把一些自制的几何图形定义为画笔使用,经过一些简单的变化成了非常不错的装饰元素;同时教程也写得非常详细,适合新手学习。
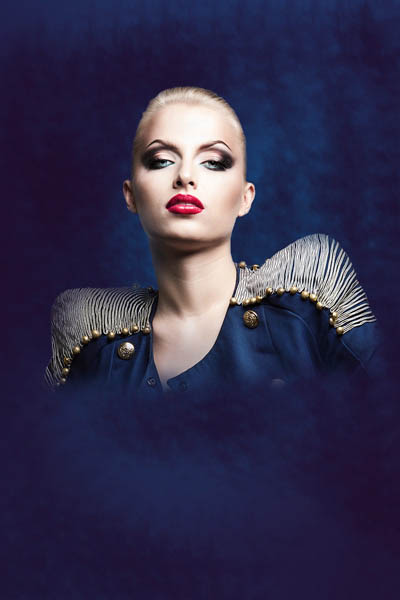
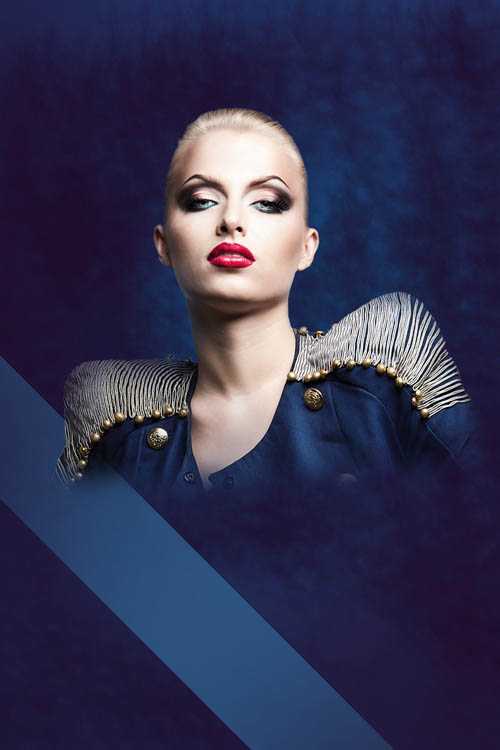
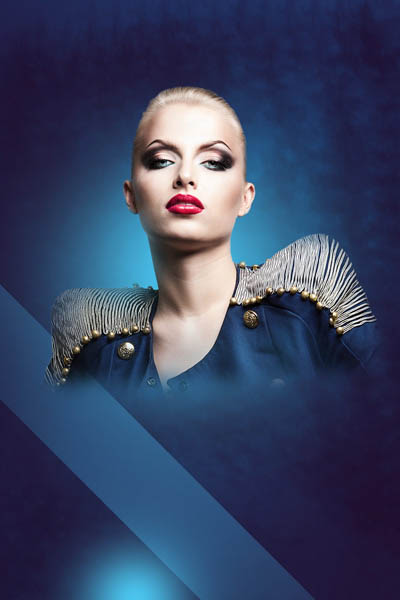
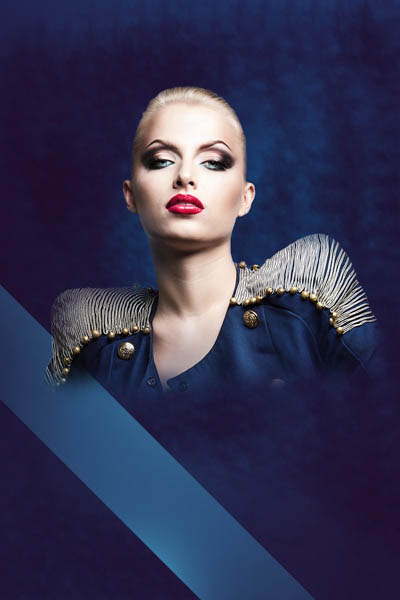
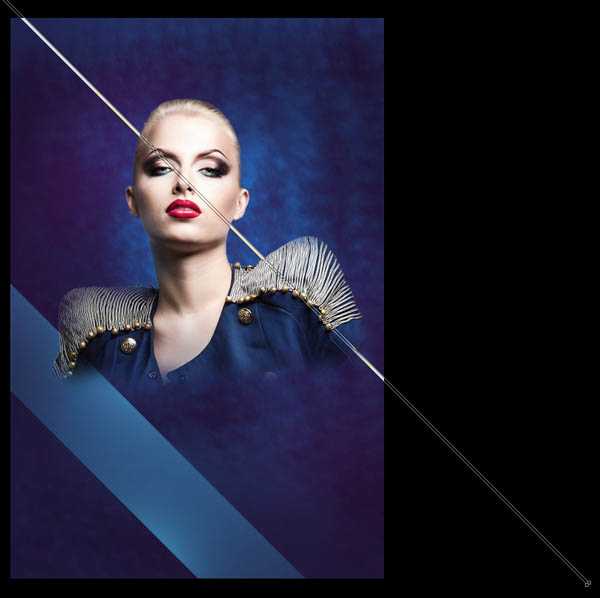
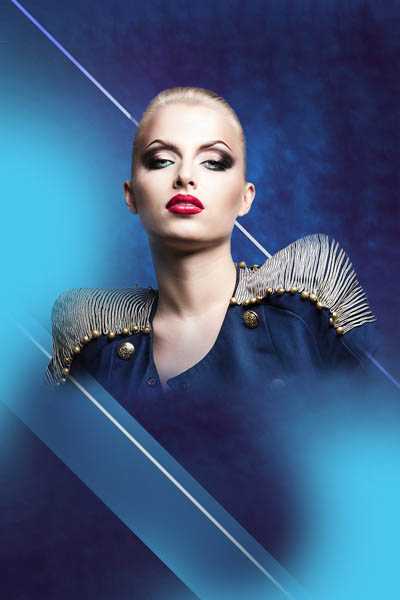
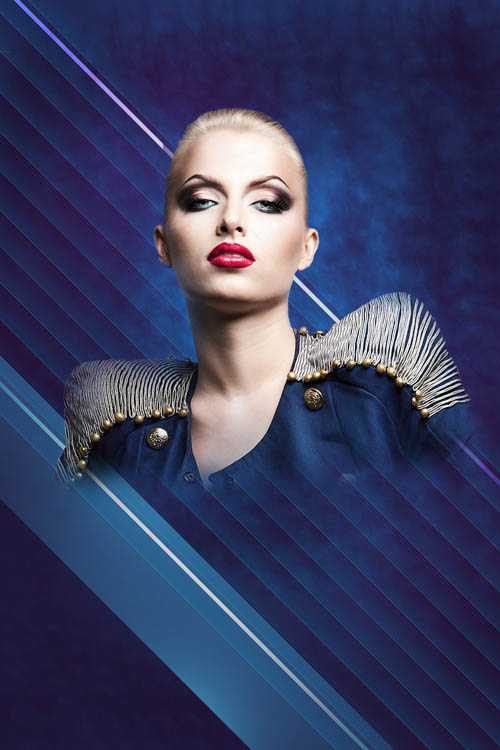
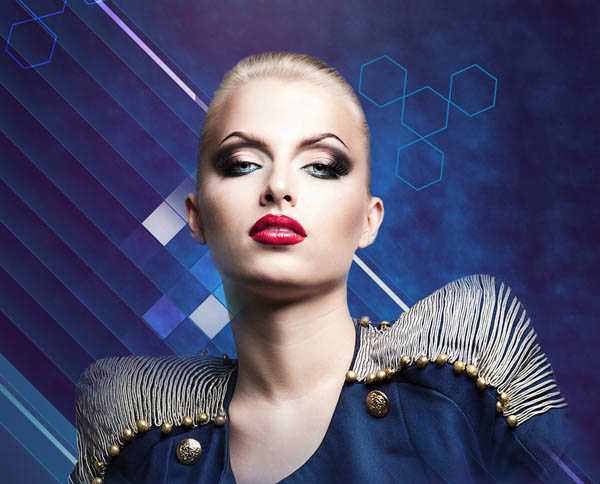
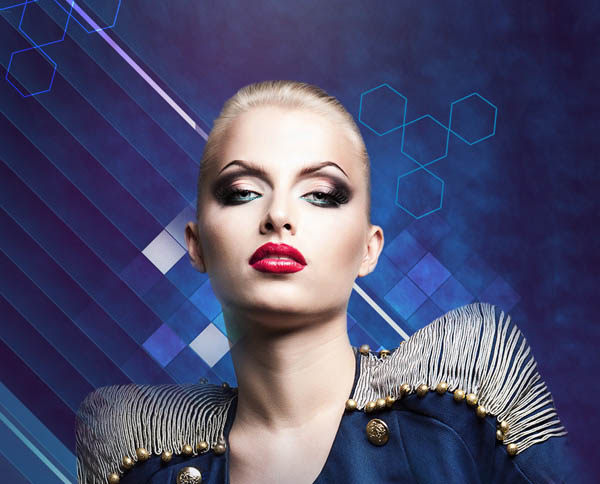
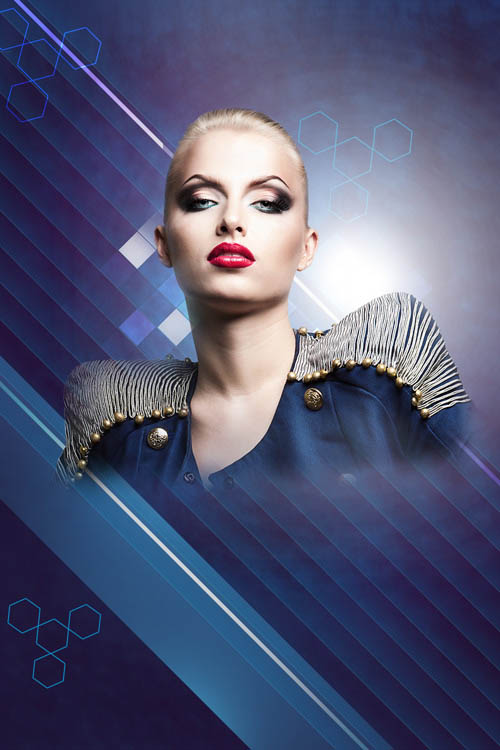
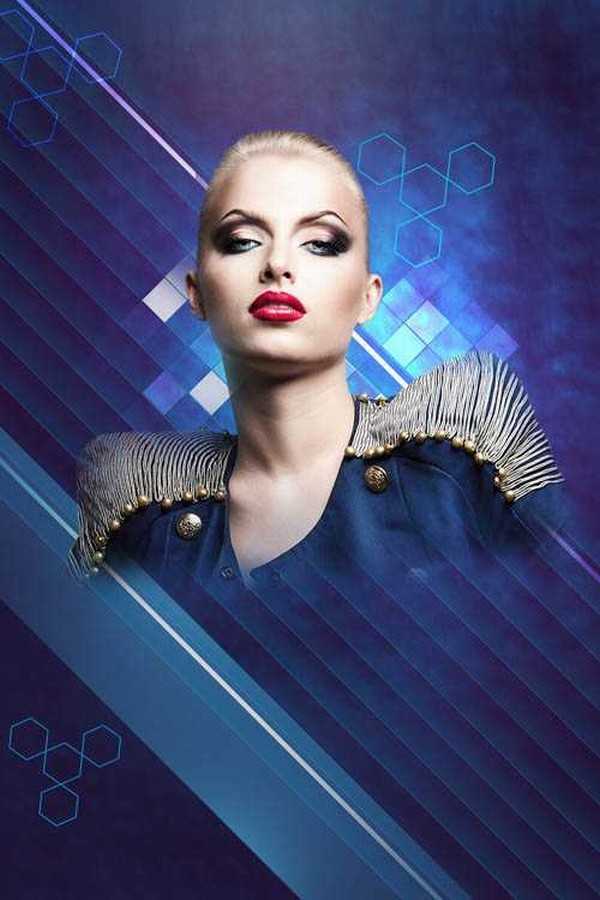
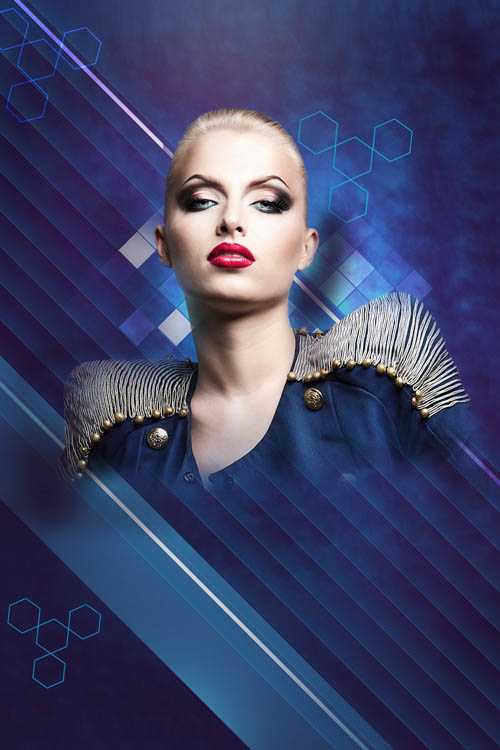
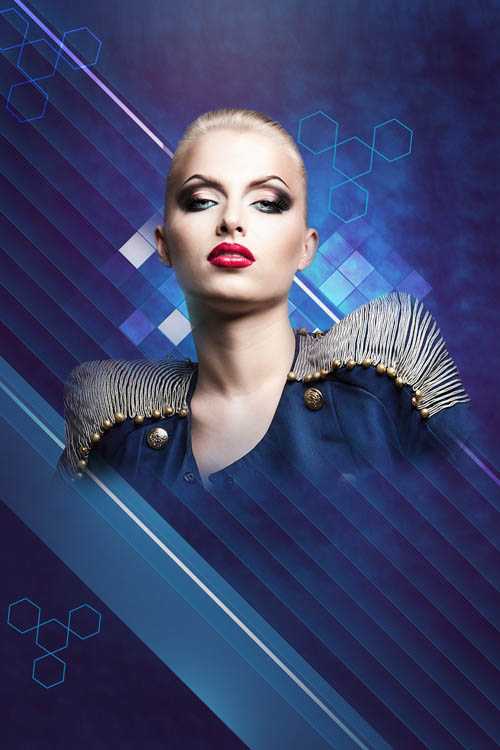
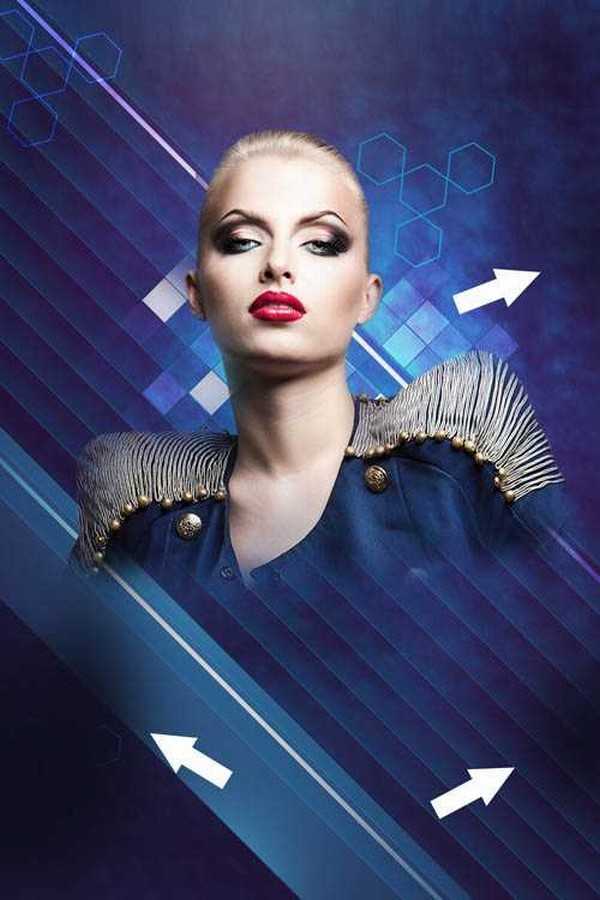
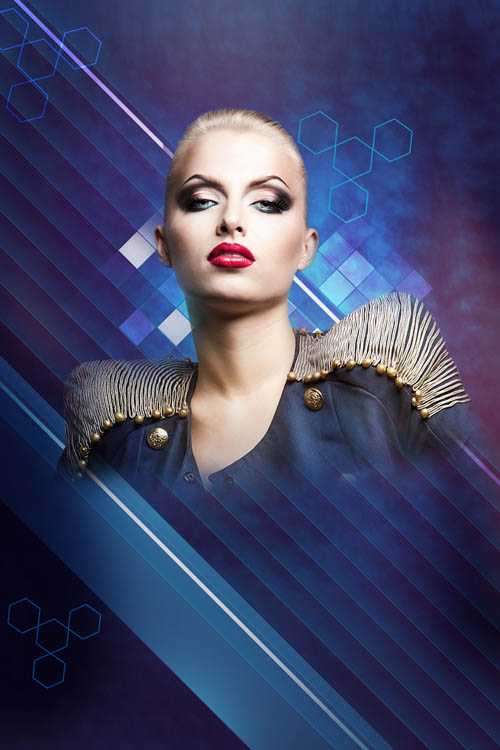
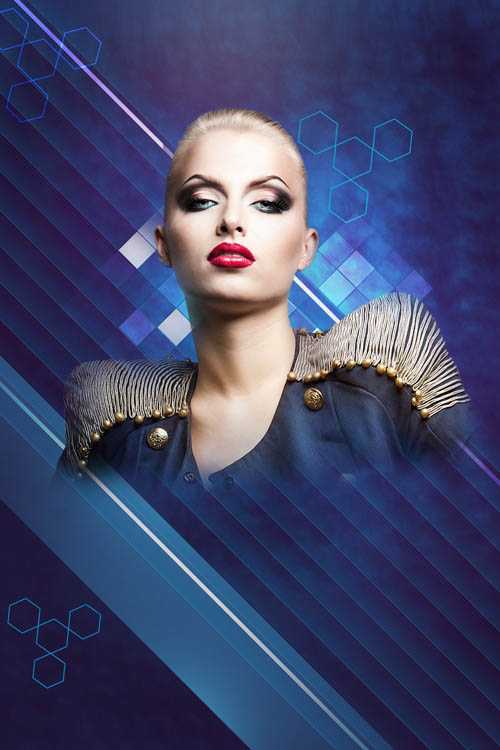
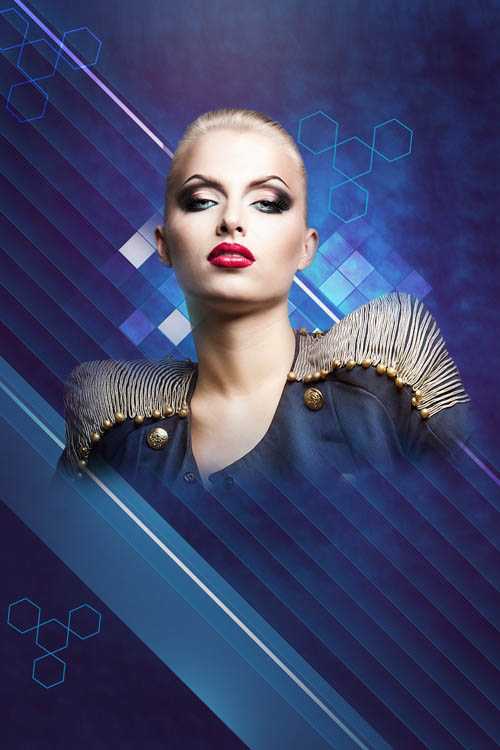
最终效果

1、在Adobe Photoshop CS6中新建一个文档(Ctrl+N),尺寸为1000px*1500px (RGB颜色模式),分辨率72 pixels/inch。使用 油漆桶工具 (G),#212F60颜色填充新背景图层。

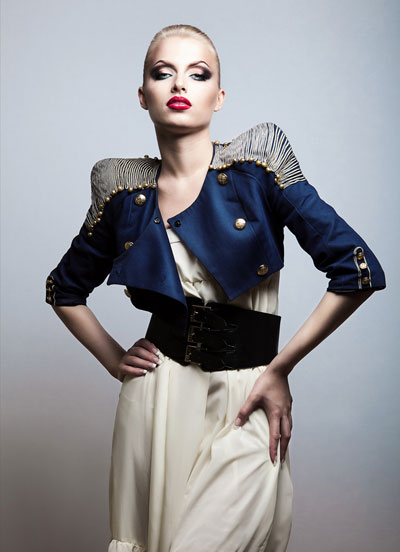
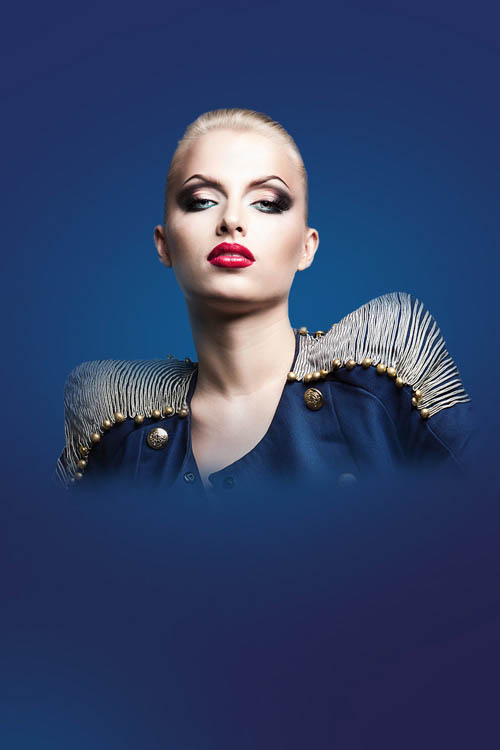
2、找一张合适的模特照片。
3、用你最喜欢的工具移除照片的背景,像是钢笔工具 (P), 魔棒工具 (W), 套索工具 (L) 甚至使用 滤镜>抽出并把它插入到我们文档的新图层中,想学最全抠图的同学来优设网搜索框报上暗号:妹子+空格+抠图全方位攻略,就有惊喜送到哟。
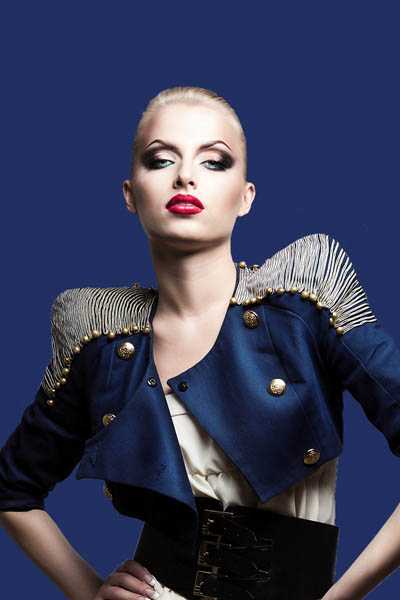
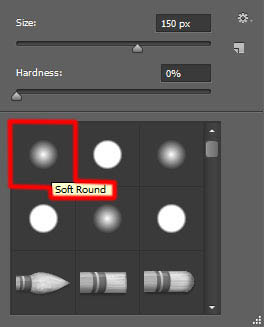
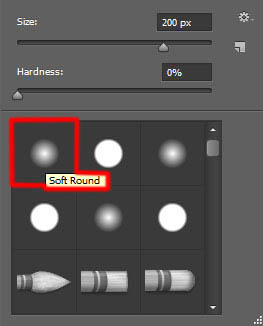
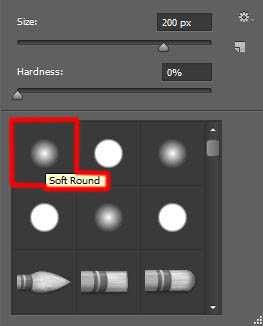
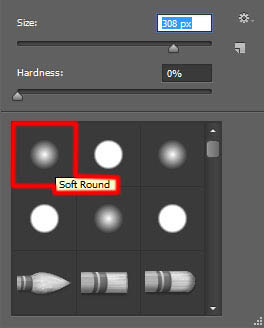
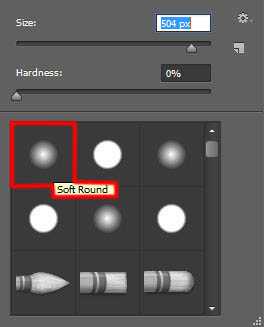
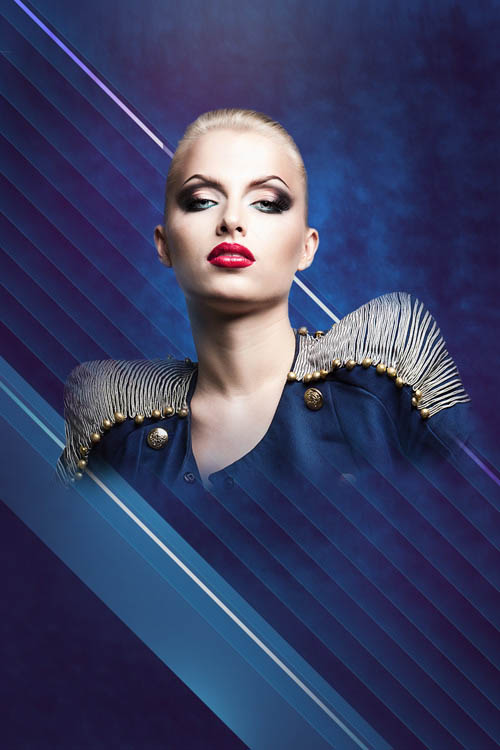
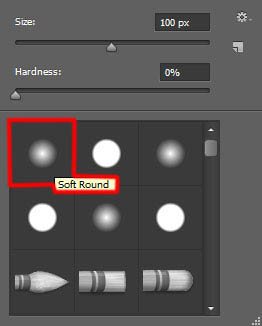
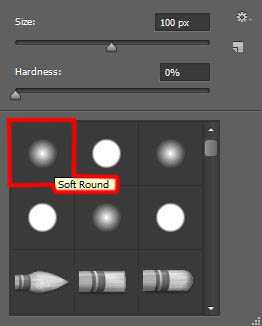
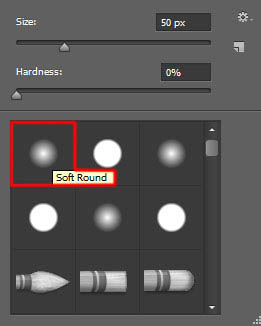
4、把模特的图层编组(按住Ctrl键并在图层面板中选择模特的图层,然后按CTRL+G)。然后在图层面板 底部选择 添加图层蒙版来为这个组添加蒙版,然后选择 软圆笔刷并使用黑色。
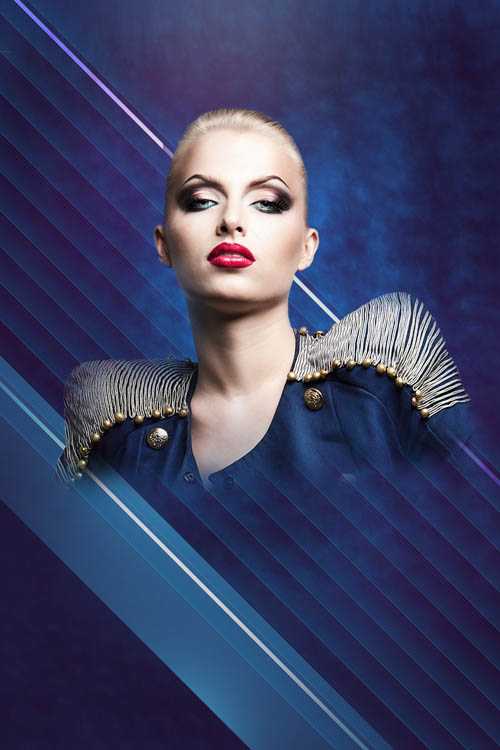
5、在蒙版中绘制以隐藏模特,下一张也这么做。

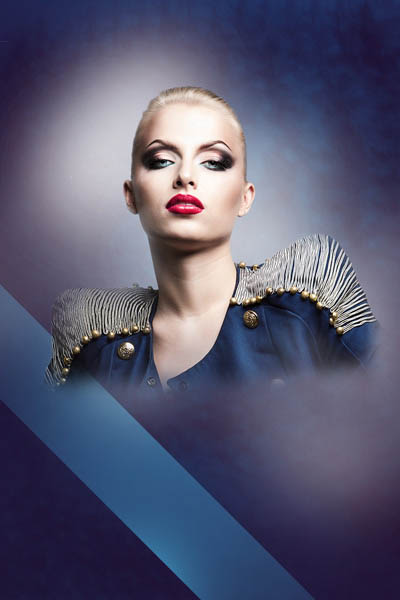
6、新建一个图层并选择上面提到过的画笔,并把颜色设为#7B78FF (画笔 不透明度 – 20%)。把这个图层放在模特的图层下面。
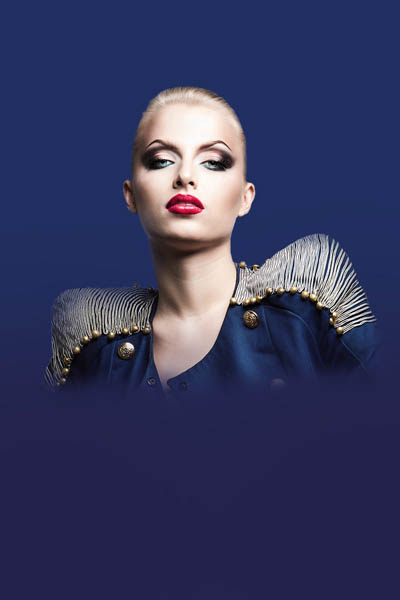
7、接下来新建一个图层并选择软圆 画笔,在模特周围绘制,使用#0097E0 (画笔 不透明度 – 15%)。把这个图层也放在模特图层下面。

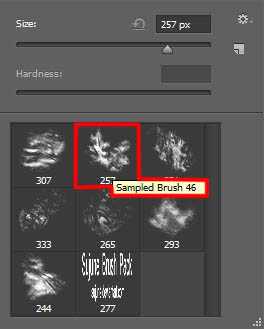
8、下一步我们要下载一套画笔复制画笔文件到C:Program FilesAdobeAdobe Photoshop XPresetsbrushes文件夹(Adobe Photoshop X是你的Photoshop版本)。 新建一个图层,从Sujune brush Pack 2中选择下面的画笔,使用#37004A (画笔 不透明度 – 15%)绘制背景。
9、同样把这个图层放在模特图层下面。

10、再新建一个新图层,选择软圆 画笔,在画布的所编和右下角绘制。

11、画笔颜色是#37004A (画笔 不透明度 – 15%)。把这个图层放在模特图层下面。
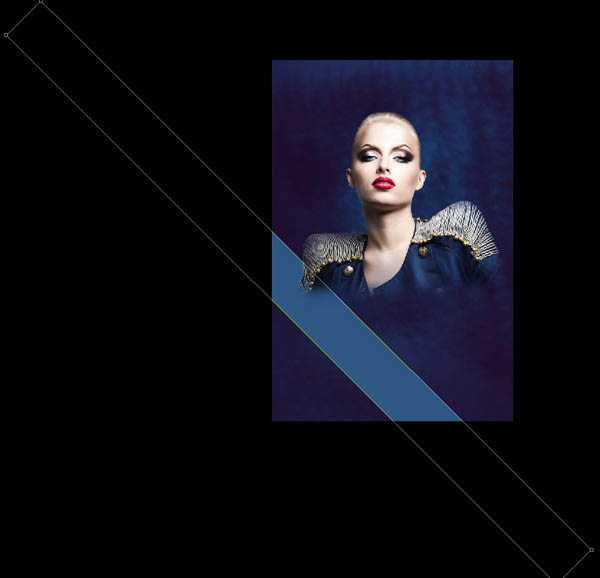
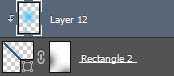
12、使用矩形工具 (U)画一个新的颜色为#2E5783的矩形。使用自由变换(Ctrl+T)旋转这个矩形,并把它放在模特下面。
13、在图层面板 底部选择 添加图层蒙版新建图层蒙版,选择黑色的软圆 画笔(不透明度为15%)。
14、在蒙版上绘制隐藏矩形的边缘。
15、新建一个图层,选择之前的那个画笔。颜色设为#00B1ED (画笔 不透明度 – 30%)。还是放在模特图层下。
16、在图层面板中按住 Alt (Windows) 或Option (Mac OS)并单击画笔图层与矩形图层之间的位置,创建剪贴蒙版。
17、接下来,我们要在一个新图层上使用软圆 画笔画一些模特身后的大点点。它是白色的(画笔 不透明度 – 20%)。
18、这个点要放在图层面板中模特图层的下面。
19、把混合模式设为叠加。

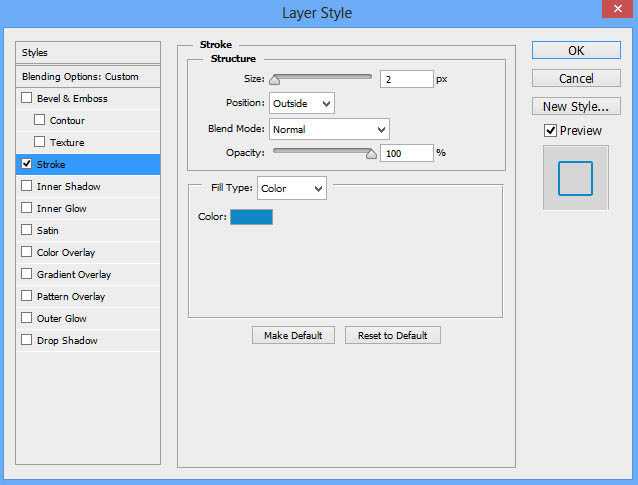
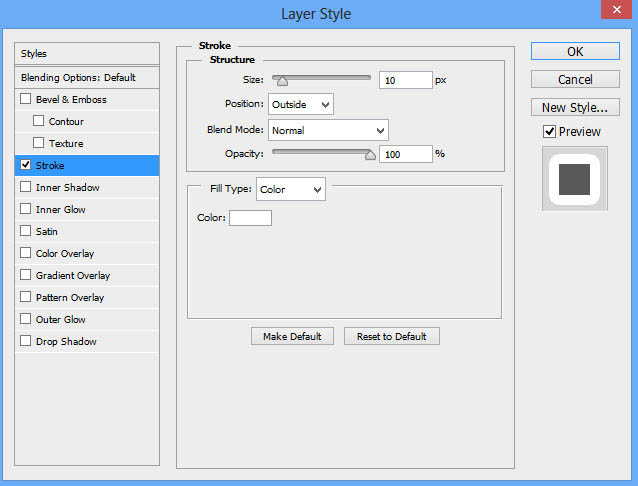
20、使用 矩形工具 (U)画一条细线,把颜色设为#DADADA。使用如图所示的选项条添加描边。
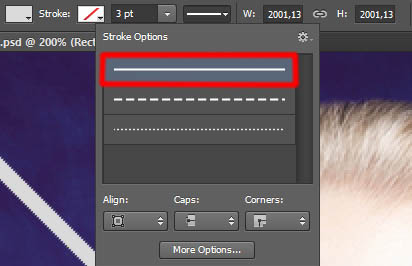
21、使用自由变换(Ctrl+T)命令来倾斜线条。
22、把这个图层的混合模式设为 亮光。

23、为这个图层 添加图层蒙版,然后使用矩形选框工具 (M)添加一个选区。

24、使用软圆 画笔,设为黑色 (画笔 不透明度 – 20%),绘制以隐藏选区的左侧及右侧部分。


25、复制粘贴最近建立的那个图层,并把混合模式改为正常。用之前的手法隐藏线条的边缘。这个图层也要在模特图层下面。

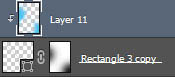
26、再复制一个线的图层并选择自由变换(Ctrl+T)命令,把它移动到下图所示的位置上。这个图层也要在模特图层下面。

27、新建一个图层并选择 软圆 画笔绘制线条的边缘,画笔颜色设为#4BC5EE。
28、这个图层也要放在模特图层的下面。
29、在图层面板中按住Alt (Windows)或Option (Mac OS)并单击画笔图层和线条图层中间的地方,以创建剪贴蒙版。
30、把混合模式设为线性光。

31、使用矩形工具 (U),在画一条线,同样使用自由变换(Ctrl+T)工具倾斜。
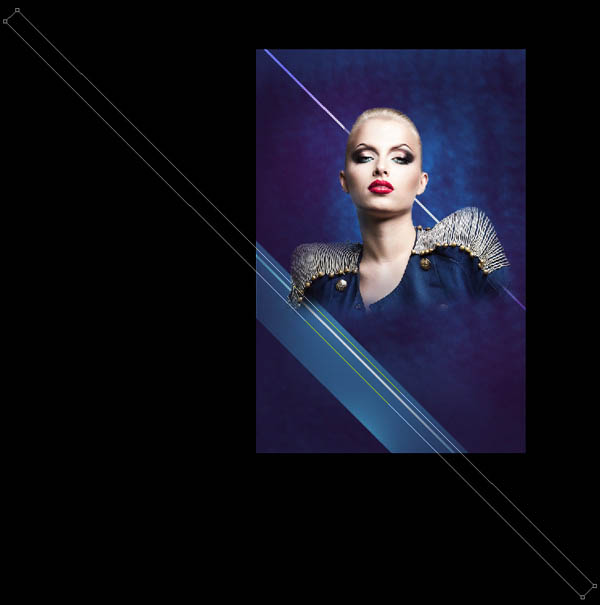
32、把这个图层的填充设为0%, 单击添加图层样式并选择渐变叠加。
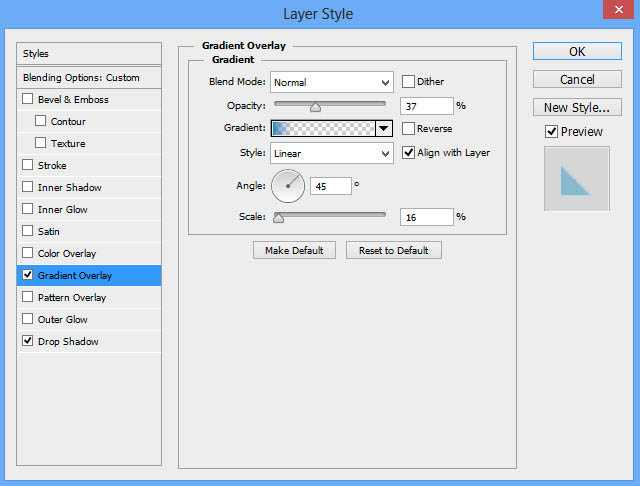
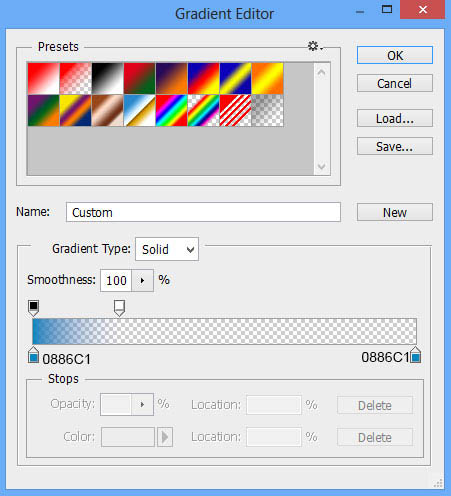
33、单击颜色条打开渐变编辑器,如图所示设置颜色断点。单击确定关闭渐变编辑器对话框。
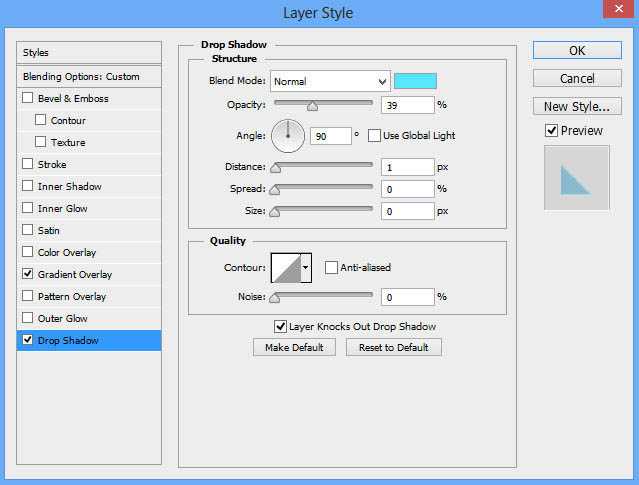
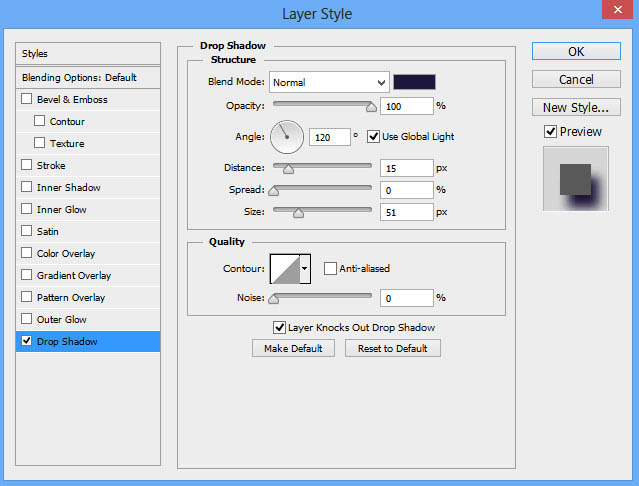
34、添加投影。

35、复制11个上面创建的图层的副本并选择 自由变换(Ctrl+T)工具,把这些副本如图所示依次排列在模特身下。
36、接下来,我们要把所有细线条图层放在一起(按住Ctrl键并在图层面板中选中图层并按下CTRL+E以向下合并)。把混合模式设为浅色。

37、再次新建一个图层并选择软圆 画笔,使用#FAFA00 (画笔 不透明度 – 7%)在画面上半部分涂抹。
38、这个图层要放在模特图层下面。
39、把混合模式改为实色混合。
40、使用多边形工具 (U)画一个多边形,把这个图层放在模特图层下面。
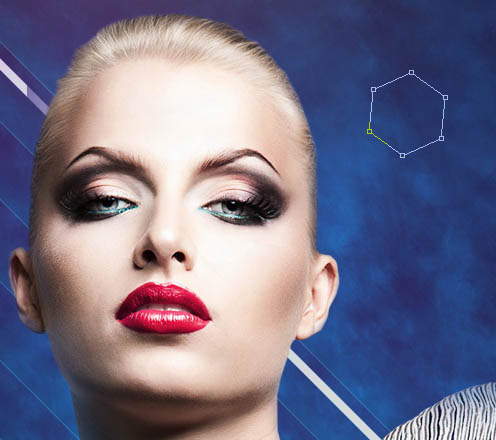
41、把该图层的填充设为0%并在图层面板底端点击添加图层样式图标,并选择描边。
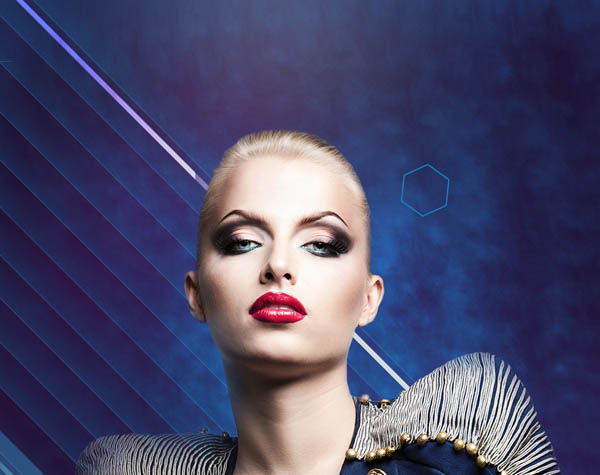
42、复制三份并使用自由变换(Ctrl+T)命令,令这几个副本彼此角角相连,如下图所示。
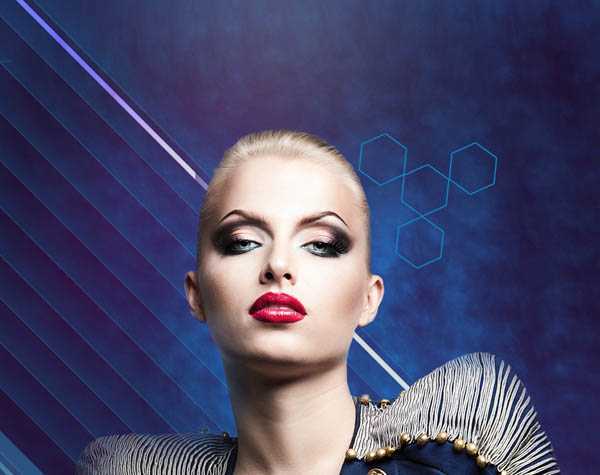
43、现在把这些多边形编组(按住Ctrl键并在图层面板中选择模特的图层,然后按CTRL+G)。我们要做两组副本,并通过自由变换(Ctrl+T)改变副本的尺寸,如下图所示。
44、试着把左边那组的混合模式改成颜色减淡。
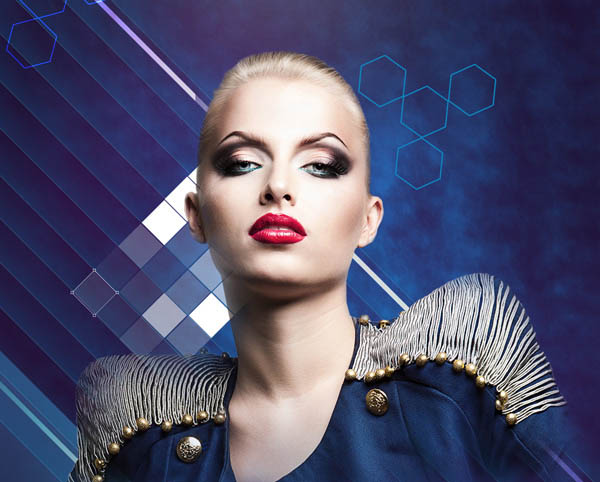
45、现在我们要放一组方块。在我们的例子中选择矩形工具 (U)并画一系列白色方块。复制很多份并使用自由变换(Ctrl+T)把它们放到图中所示的位置上。我们还要改变每个图层的填充值,试着弄成跟我下图中所示的效果一样。这些图层仍要放在模特图层下面。
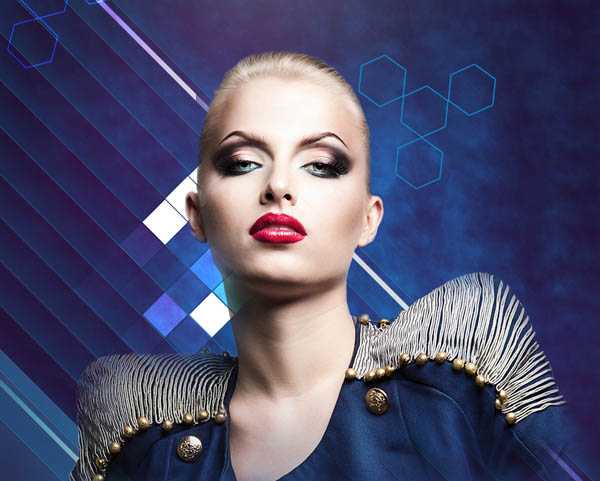
46、把所有的方块编组(按住Ctrl键并在图层面板中选择模特的图层,然后按CTRL+G)。把混合模式改为实色混合。
47、点击图层面板 底部的 添加图层蒙版按钮插入新的图层蒙版。选择软圆 画笔,设为黑色 (不透明度 设为 20%)。
48、如下图所示那样涂抹以隐藏部分方块。
49、建立一个方块群组的副本并使用自由变换(Ctrl+T),放到如下图所示的位置上。移除图层蒙版并把混合模式改为叠加。
50、在图层面板 底部选择 添加图层蒙版来为这个组添加蒙版,然后选择 软圆笔刷并使用黑色。 (画笔 不透明度 – 20%),用相同的方式隐藏部分方块。

51、接下来我们要画模特肩膀上的闪光,首先新建图层,使用软圆 画笔,颜色为白色(画笔 不透明度 – 15%),点一下。

52、这个图层也必须放在模特图层下面。
53、把填充设为84%,把混合模式设为叠加。
54、新建一个图层,选择软圆 画笔绘制模特内部的特定区域,创建阴影。
55、使用 #45005C (画笔 不透明度 – 15%)。这个图层和下一个图层都要在模特图层上方。
56、在图层面板中按住Alt (Windows)或Option (Mac OS)并单击画笔图层和模特图层中间的地方,以创建剪贴蒙版。
57、新建一个图层,给模特添加更多阴影。

58、这次选择软圆 画笔,设为黑色 (画笔 不透明度 – 20%)。
59、在图层面板中按住Alt (Windows)或Option (Mac OS)并单击两个图层中间的地方,以创建剪贴蒙版。

60、接下来我们要处理下一个新图层,选择之前使用过的画笔,之前是黑色不过这次是 #E47200 (画笔 不透明度 – 20%)。

61、把混合模式设为柔光。
62、在图层面板中按住Alt (Windows)或Option (Mac OS)并单击画笔图层和线条图层中间的地方,以创建剪贴蒙版。

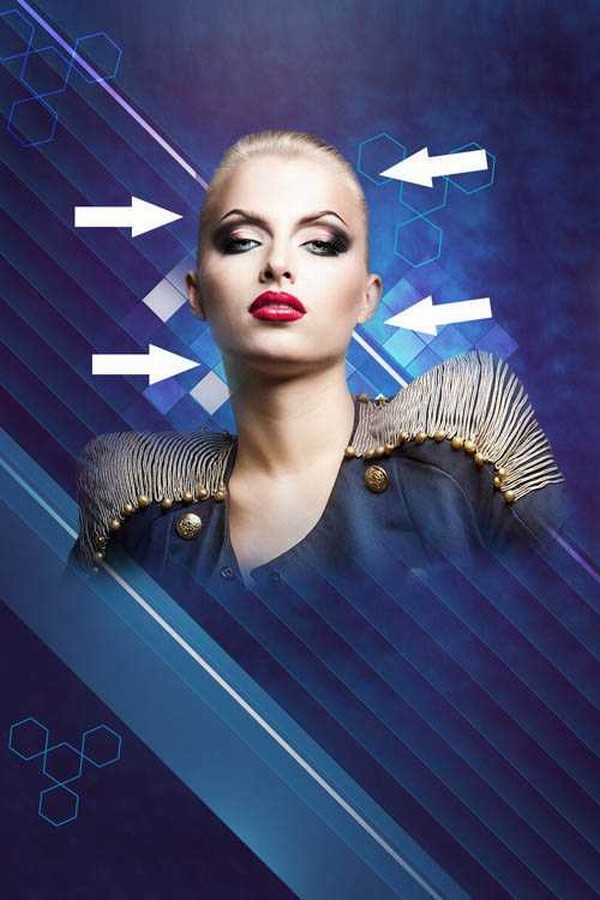
63、新建一个图层选择软圆 画笔,设为白色 (画笔 不透明度 – 10%),画下图中所指出的这几个区域。

64、在图层面板中按住Alt (Windows)或Option (Mac OS)并单击两个图层中间的地方,以创建剪贴蒙版。

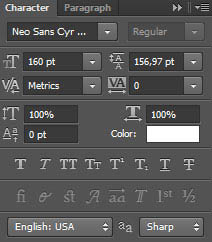
65、现在要插入夜晚,选择水平文字工具 (T)。选好字体、字号和颜色。
66、单击画布并输入 ‘Fashion Night’。按回车应用文本。

67、在图层面板底端点击添加图层样式图标,并选择描边。

68、在图层面板中右键单击文字图层,并选择转换为智能对象. 在图层面板底端点击添加图层样式图标,并选择投影。

69、新建一个图层选择软圆 画笔,在文字上绘制阴影。

上一页12 下一页 阅读全文
最终效果
1、在Adobe Photoshop CS6中新建一个文档(Ctrl+N),尺寸为1000px*1500px (RGB颜色模式),分辨率72 pixels/inch。使用 油漆桶工具 (G),#212F60颜色填充新背景图层。
2、找一张合适的模特照片。
3、用你最喜欢的工具移除照片的背景,像是钢笔工具 (P), 魔棒工具 (W), 套索工具 (L) 甚至使用 滤镜>抽出并把它插入到我们文档的新图层中,想学最全抠图的同学来优设网搜索框报上暗号:妹子+空格+抠图全方位攻略,就有惊喜送到哟。
4、把模特的图层编组(按住Ctrl键并在图层面板中选择模特的图层,然后按CTRL+G)。然后在图层面板 底部选择 添加图层蒙版来为这个组添加蒙版,然后选择 软圆笔刷并使用黑色。
5、在蒙版中绘制以隐藏模特,下一张也这么做。
6、新建一个图层并选择上面提到过的画笔,并把颜色设为#7B78FF (画笔 不透明度 – 20%)。把这个图层放在模特的图层下面。
7、接下来新建一个图层并选择软圆 画笔,在模特周围绘制,使用#0097E0 (画笔 不透明度 – 15%)。把这个图层也放在模特图层下面。
8、下一步我们要下载一套画笔复制画笔文件到C:Program FilesAdobeAdobe Photoshop XPresetsbrushes文件夹(Adobe Photoshop X是你的Photoshop版本)。 新建一个图层,从Sujune brush Pack 2中选择下面的画笔,使用#37004A (画笔 不透明度 – 15%)绘制背景。
9、同样把这个图层放在模特图层下面。
10、再新建一个新图层,选择软圆 画笔,在画布的所编和右下角绘制。
11、画笔颜色是#37004A (画笔 不透明度 – 15%)。把这个图层放在模特图层下面。
12、使用矩形工具 (U)画一个新的颜色为#2E5783的矩形。使用自由变换(Ctrl+T)旋转这个矩形,并把它放在模特下面。
13、在图层面板 底部选择 添加图层蒙版新建图层蒙版,选择黑色的软圆 画笔(不透明度为15%)。
14、在蒙版上绘制隐藏矩形的边缘。
15、新建一个图层,选择之前的那个画笔。颜色设为#00B1ED (画笔 不透明度 – 30%)。还是放在模特图层下。
16、在图层面板中按住 Alt (Windows) 或Option (Mac OS)并单击画笔图层与矩形图层之间的位置,创建剪贴蒙版。
17、接下来,我们要在一个新图层上使用软圆 画笔画一些模特身后的大点点。它是白色的(画笔 不透明度 – 20%)。
18、这个点要放在图层面板中模特图层的下面。
19、把混合模式设为叠加。
20、使用 矩形工具 (U)画一条细线,把颜色设为#DADADA。使用如图所示的选项条添加描边。
21、使用自由变换(Ctrl+T)命令来倾斜线条。
22、把这个图层的混合模式设为 亮光。
23、为这个图层 添加图层蒙版,然后使用矩形选框工具 (M)添加一个选区。
24、使用软圆 画笔,设为黑色 (画笔 不透明度 – 20%),绘制以隐藏选区的左侧及右侧部分。
25、复制粘贴最近建立的那个图层,并把混合模式改为正常。用之前的手法隐藏线条的边缘。这个图层也要在模特图层下面。
26、再复制一个线的图层并选择自由变换(Ctrl+T)命令,把它移动到下图所示的位置上。这个图层也要在模特图层下面。
27、新建一个图层并选择 软圆 画笔绘制线条的边缘,画笔颜色设为#4BC5EE。
28、这个图层也要放在模特图层的下面。
29、在图层面板中按住Alt (Windows)或Option (Mac OS)并单击画笔图层和线条图层中间的地方,以创建剪贴蒙版。
30、把混合模式设为线性光。
31、使用矩形工具 (U),在画一条线,同样使用自由变换(Ctrl+T)工具倾斜。
32、把这个图层的填充设为0%, 单击添加图层样式并选择渐变叠加。
33、单击颜色条打开渐变编辑器,如图所示设置颜色断点。单击确定关闭渐变编辑器对话框。
34、添加投影。
35、复制11个上面创建的图层的副本并选择 自由变换(Ctrl+T)工具,把这些副本如图所示依次排列在模特身下。
36、接下来,我们要把所有细线条图层放在一起(按住Ctrl键并在图层面板中选中图层并按下CTRL+E以向下合并)。把混合模式设为浅色。
37、再次新建一个图层并选择软圆 画笔,使用#FAFA00 (画笔 不透明度 – 7%)在画面上半部分涂抹。
38、这个图层要放在模特图层下面。
39、把混合模式改为实色混合。
40、使用多边形工具 (U)画一个多边形,把这个图层放在模特图层下面。
41、把该图层的填充设为0%并在图层面板底端点击添加图层样式图标,并选择描边。
42、复制三份并使用自由变换(Ctrl+T)命令,令这几个副本彼此角角相连,如下图所示。
43、现在把这些多边形编组(按住Ctrl键并在图层面板中选择模特的图层,然后按CTRL+G)。我们要做两组副本,并通过自由变换(Ctrl+T)改变副本的尺寸,如下图所示。
44、试着把左边那组的混合模式改成颜色减淡。
45、现在我们要放一组方块。在我们的例子中选择矩形工具 (U)并画一系列白色方块。复制很多份并使用自由变换(Ctrl+T)把它们放到图中所示的位置上。我们还要改变每个图层的填充值,试着弄成跟我下图中所示的效果一样。这些图层仍要放在模特图层下面。
46、把所有的方块编组(按住Ctrl键并在图层面板中选择模特的图层,然后按CTRL+G)。把混合模式改为实色混合。
47、点击图层面板 底部的 添加图层蒙版按钮插入新的图层蒙版。选择软圆 画笔,设为黑色 (不透明度 设为 20%)。
48、如下图所示那样涂抹以隐藏部分方块。
49、建立一个方块群组的副本并使用自由变换(Ctrl+T),放到如下图所示的位置上。移除图层蒙版并把混合模式改为叠加。
50、在图层面板 底部选择 添加图层蒙版来为这个组添加蒙版,然后选择 软圆笔刷并使用黑色。 (画笔 不透明度 – 20%),用相同的方式隐藏部分方块。
51、接下来我们要画模特肩膀上的闪光,首先新建图层,使用软圆 画笔,颜色为白色(画笔 不透明度 – 15%),点一下。
52、这个图层也必须放在模特图层下面。
53、把填充设为84%,把混合模式设为叠加。
54、新建一个图层,选择软圆 画笔绘制模特内部的特定区域,创建阴影。
55、使用 #45005C (画笔 不透明度 – 15%)。这个图层和下一个图层都要在模特图层上方。
56、在图层面板中按住Alt (Windows)或Option (Mac OS)并单击画笔图层和模特图层中间的地方,以创建剪贴蒙版。
57、新建一个图层,给模特添加更多阴影。
58、这次选择软圆 画笔,设为黑色 (画笔 不透明度 – 20%)。
59、在图层面板中按住Alt (Windows)或Option (Mac OS)并单击两个图层中间的地方,以创建剪贴蒙版。
60、接下来我们要处理下一个新图层,选择之前使用过的画笔,之前是黑色不过这次是 #E47200 (画笔 不透明度 – 20%)。
61、把混合模式设为柔光。
62、在图层面板中按住Alt (Windows)或Option (Mac OS)并单击画笔图层和线条图层中间的地方,以创建剪贴蒙版。
63、新建一个图层选择软圆 画笔,设为白色 (画笔 不透明度 – 10%),画下图中所指出的这几个区域。
64、在图层面板中按住Alt (Windows)或Option (Mac OS)并单击两个图层中间的地方,以创建剪贴蒙版。
65、现在要插入夜晚,选择水平文字工具 (T)。选好字体、字号和颜色。
66、单击画布并输入 ‘Fashion Night’。按回车应用文本。
67、在图层面板底端点击添加图层样式图标,并选择描边。
68、在图层面板中右键单击文字图层,并选择转换为智能对象. 在图层面板底端点击添加图层样式图标,并选择投影。
69、新建一个图层选择软圆 画笔,在文字上绘制阴影。
上一页12 下一页 阅读全文
标签:
蓝色,人物,海报
蝙蝠岛资源网 Design By www.hbtsch.com
广告合作:本站广告合作请联系QQ:858582 申请时备注:广告合作(否则不回)
免责声明:本站文章均来自网站采集或用户投稿,网站不提供任何软件下载或自行开发的软件! 如有用户或公司发现本站内容信息存在侵权行为,请邮件告知! 858582#qq.com
免责声明:本站文章均来自网站采集或用户投稿,网站不提供任何软件下载或自行开发的软件! 如有用户或公司发现本站内容信息存在侵权行为,请邮件告知! 858582#qq.com
蝙蝠岛资源网 Design By www.hbtsch.com
暂无Photoshop设计打造绚丽的蓝色潮装人物海报的评论...
更新日志
2026年01月30日
2026年01月30日
- 小骆驼-《草原狼2(蓝光CD)》[原抓WAV+CUE]
- 群星《欢迎来到我身边 电影原声专辑》[320K/MP3][105.02MB]
- 群星《欢迎来到我身边 电影原声专辑》[FLAC/分轨][480.9MB]
- 雷婷《梦里蓝天HQⅡ》 2023头版限量编号低速原抓[WAV+CUE][463M]
- 群星《2024好听新歌42》AI调整音效【WAV分轨】
- 王思雨-《思念陪着鸿雁飞》WAV
- 王思雨《喜马拉雅HQ》头版限量编号[WAV+CUE]
- 李健《无时无刻》[WAV+CUE][590M]
- 陈奕迅《酝酿》[WAV分轨][502M]
- 卓依婷《化蝶》2CD[WAV+CUE][1.1G]
- 群星《吉他王(黑胶CD)》[WAV+CUE]
- 齐秦《穿乐(穿越)》[WAV+CUE]
- 发烧珍品《数位CD音响测试-动向效果(九)》【WAV+CUE】
- 邝美云《邝美云精装歌集》[DSF][1.6G]
- 吕方《爱一回伤一回》[WAV+CUE][454M]